¶ How to use the A3 jig in Morpho studio
¶ What is the A3 Print Bed?
The A3 Print Bed is a dedicated print bed accessory designed for Morpho printers. It includes built-in electronic components that connect to the printer, providing power for bed movement and enabling automatic print bed recognition. No manual selection is required.
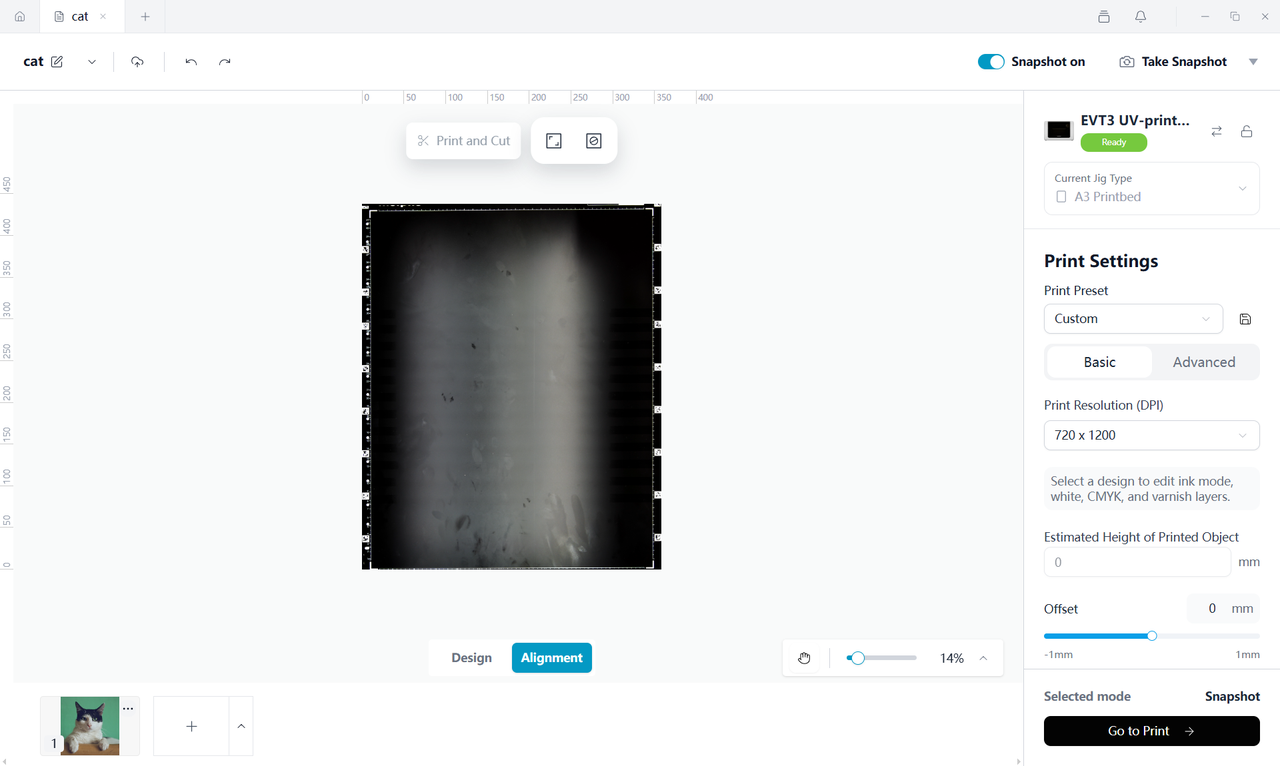
After the A3 Print Bed is installed, click Snapshot Alignment. Studio will display the reference area of the A3 Print Bed on the canvas, allowing you to verify the artwork position, orientation, and printable area before printing.
¶ Typical Applications
The A3 Print Bed is designed for larger-format alignment and printing. Its printable area is 330 × 420 mm.
Common use cases include:
- Printing artwork larger than the A4 Print Bed.
- Printing multiple objects on a larger printing surface.
- Projects that require a wider printable area.
¶ Before You Begin
Before using the A3 Print Bed, make sure that:
- The A3 Print Bed is correctly installed on the printer.
- The print surface is clean and flat, with no debris that could affect printing.
- The corner markers remain fully visible.
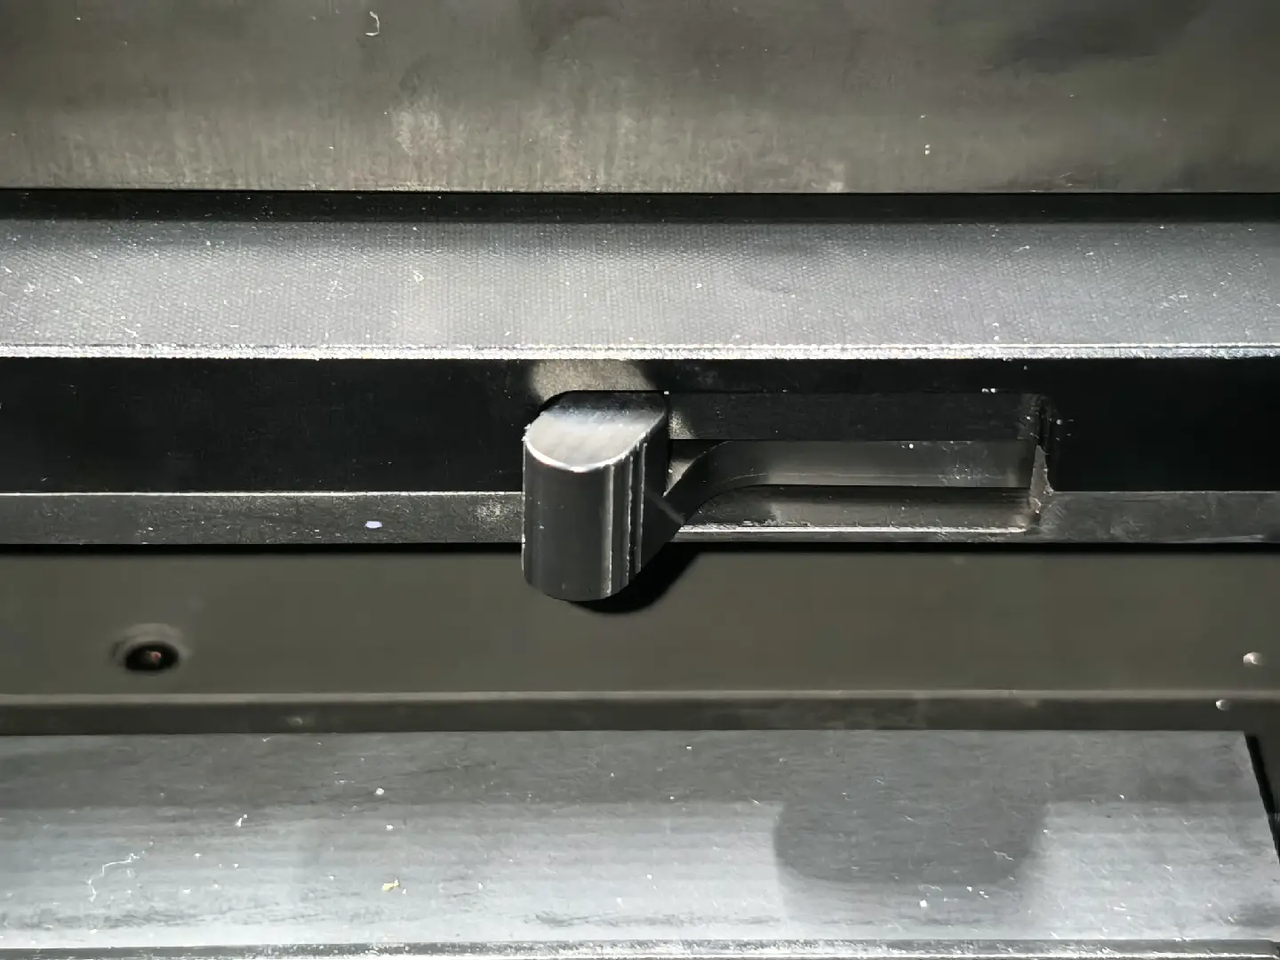
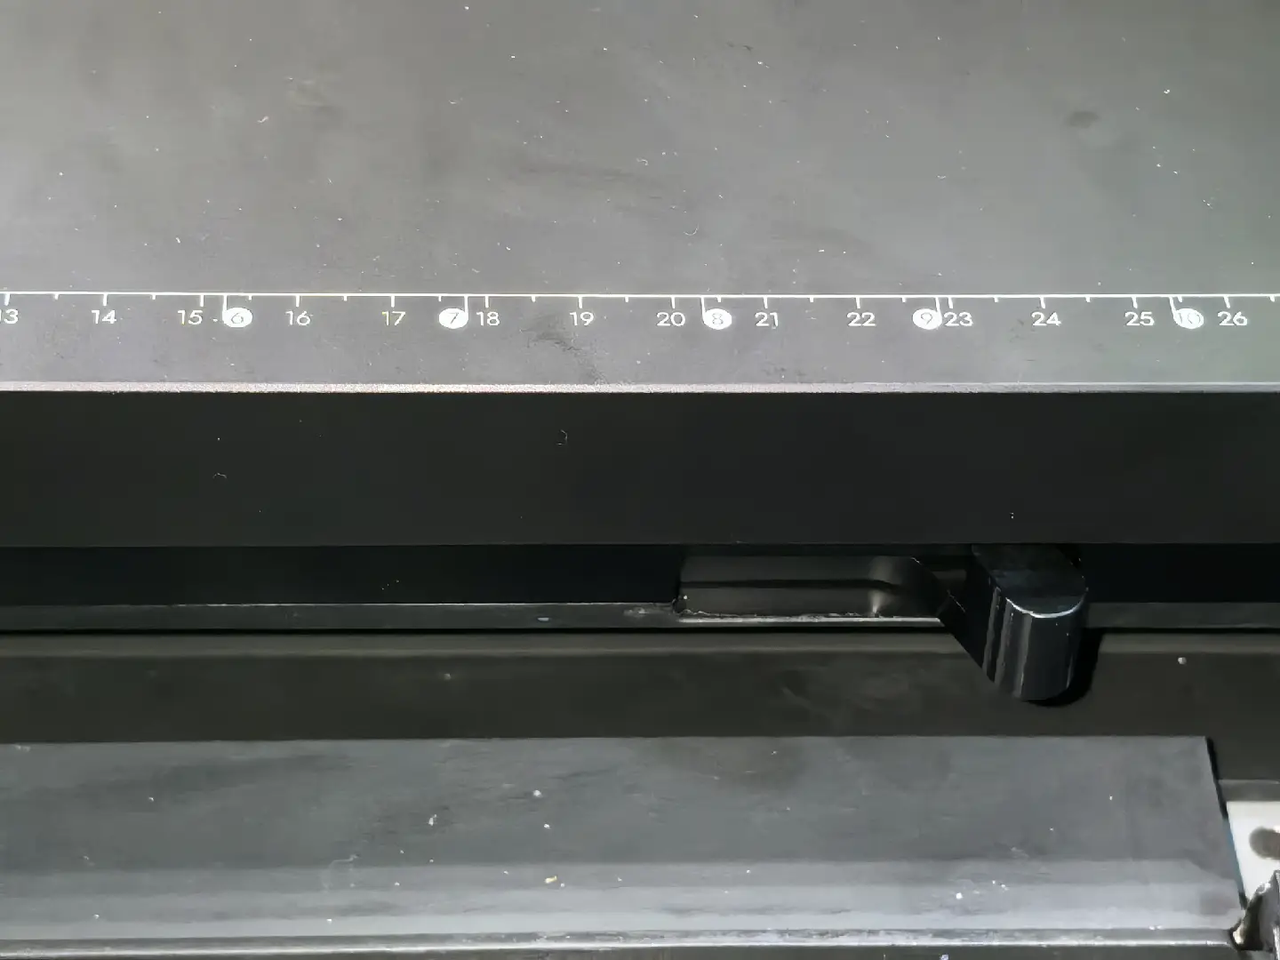
- Lock the bed latch from left to right to secure the A3 Print Bed firmly.
- Studio automatically recognizes the A3 Print Bed.
Important
If the bed latch is not fully locked, neither the printer nor Morpho Studio can recognize or lock the A3 Print Bed, and printing with the A3 Print Bed will not be available.
¶ First-Time Setup
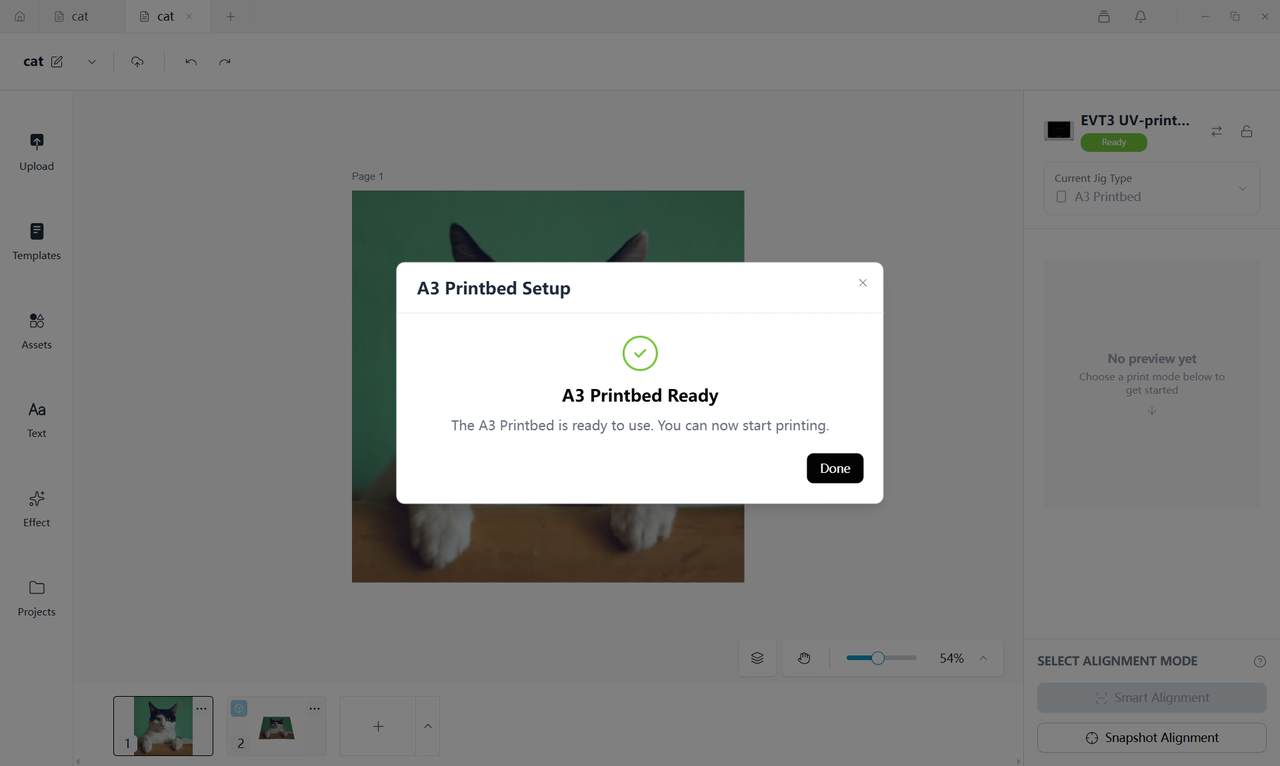
The A3 Print Bed must be initialized before first use.
-
Install the A3 Print Bed.
-
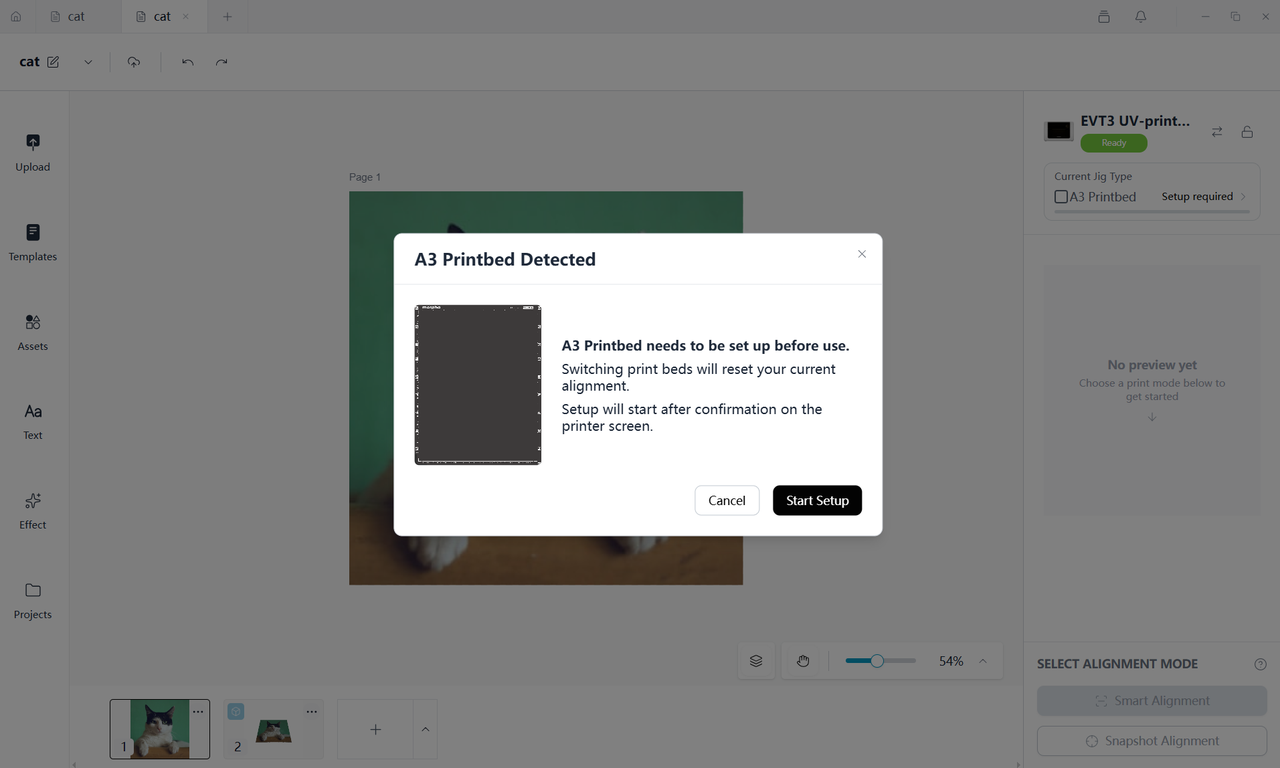
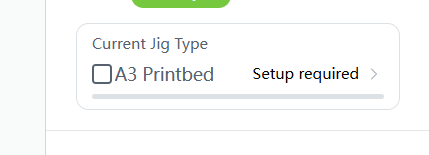
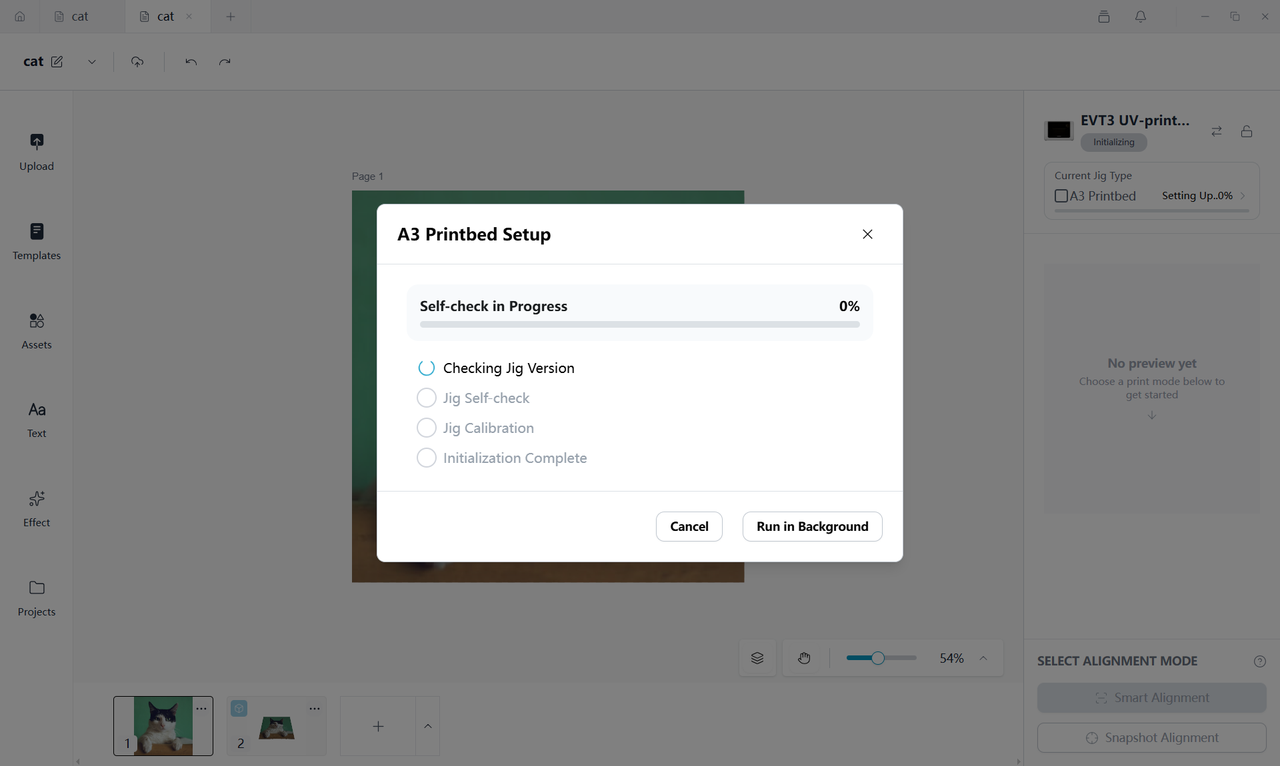
The system automatically detects the print bed and starts the initialization guide.
-
You may choose Cancel, but printing with the A3 Print Bed will remain unavailable until initialization is completed.
-
To start the setup again later, click Setup Required.
-
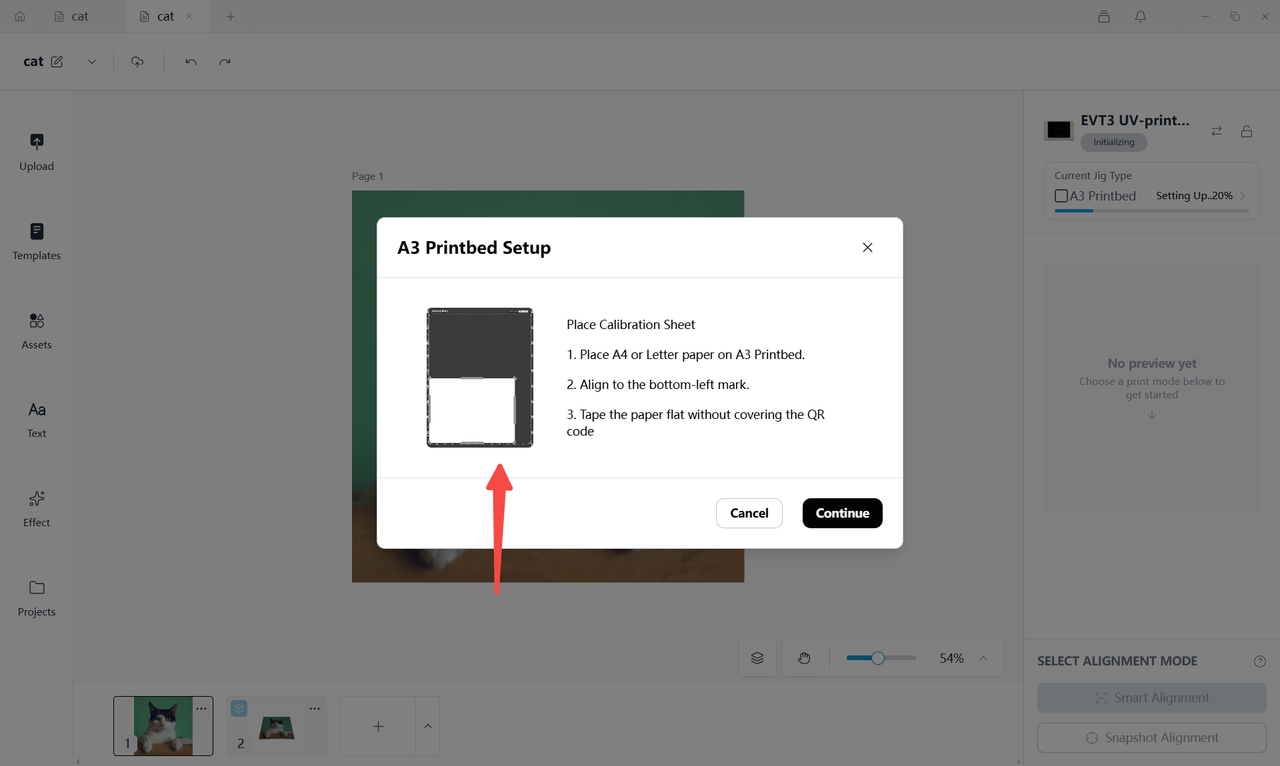
Attach the required calibration sheet as instructed, then click Continue.
-
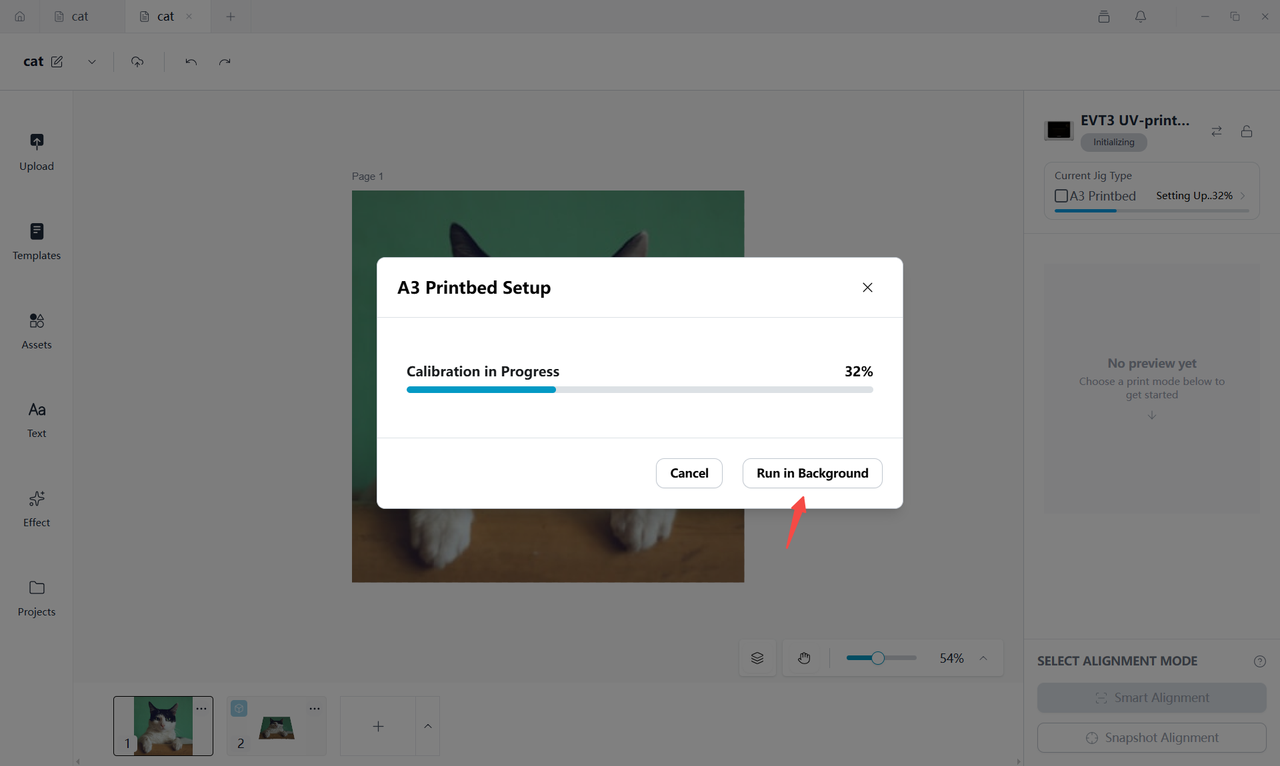
The printer will automatically begin the calibration print. Wait until the process is complete.
-
You can click Run in Background to continue designing while initialization runs in the background.
-
When A3 Print Bed Ready is displayed, the A3 Print Bed is ready to use.
¶ Alignment
-
Import the artwork you want to print.
-
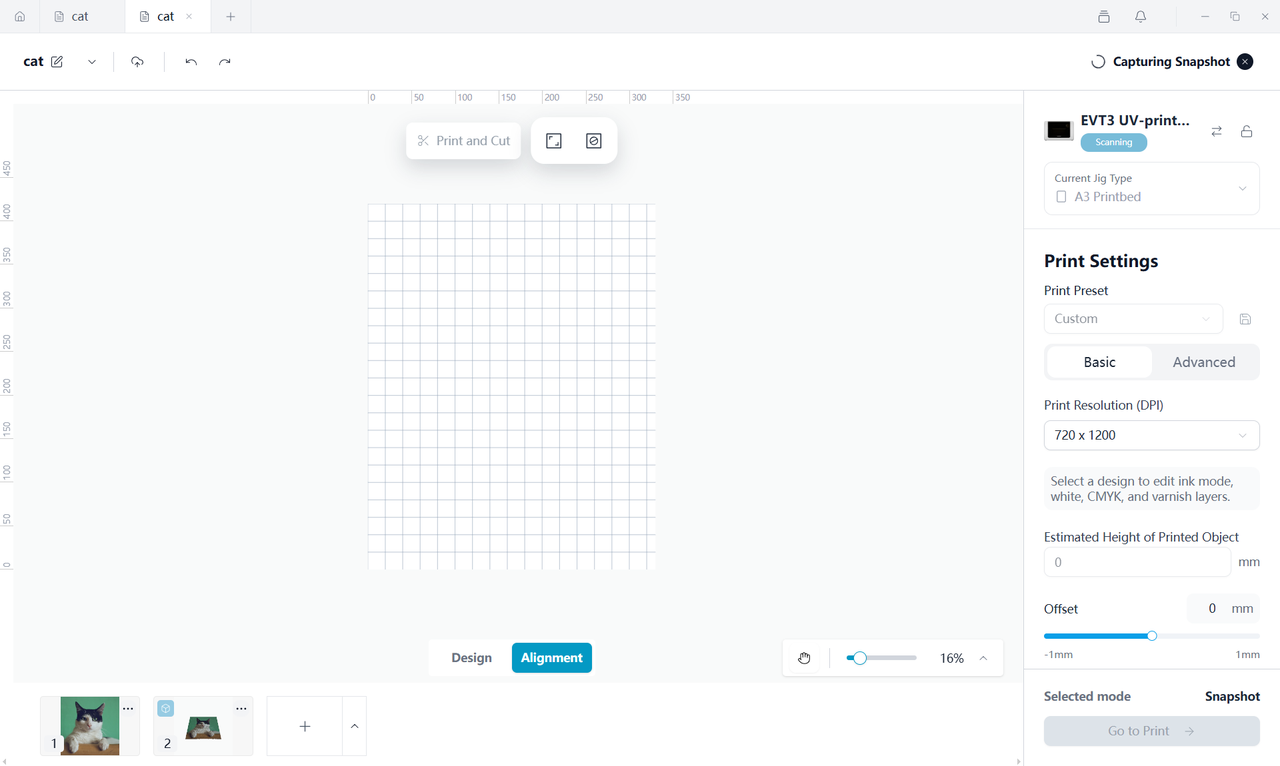
In Design, confirm your artwork, then click Snapshot Alignment.
-
Wait for Snapshot Alignment to complete. Because the A3 Print Bed has a larger surface area, this process may take slightly longer.
-
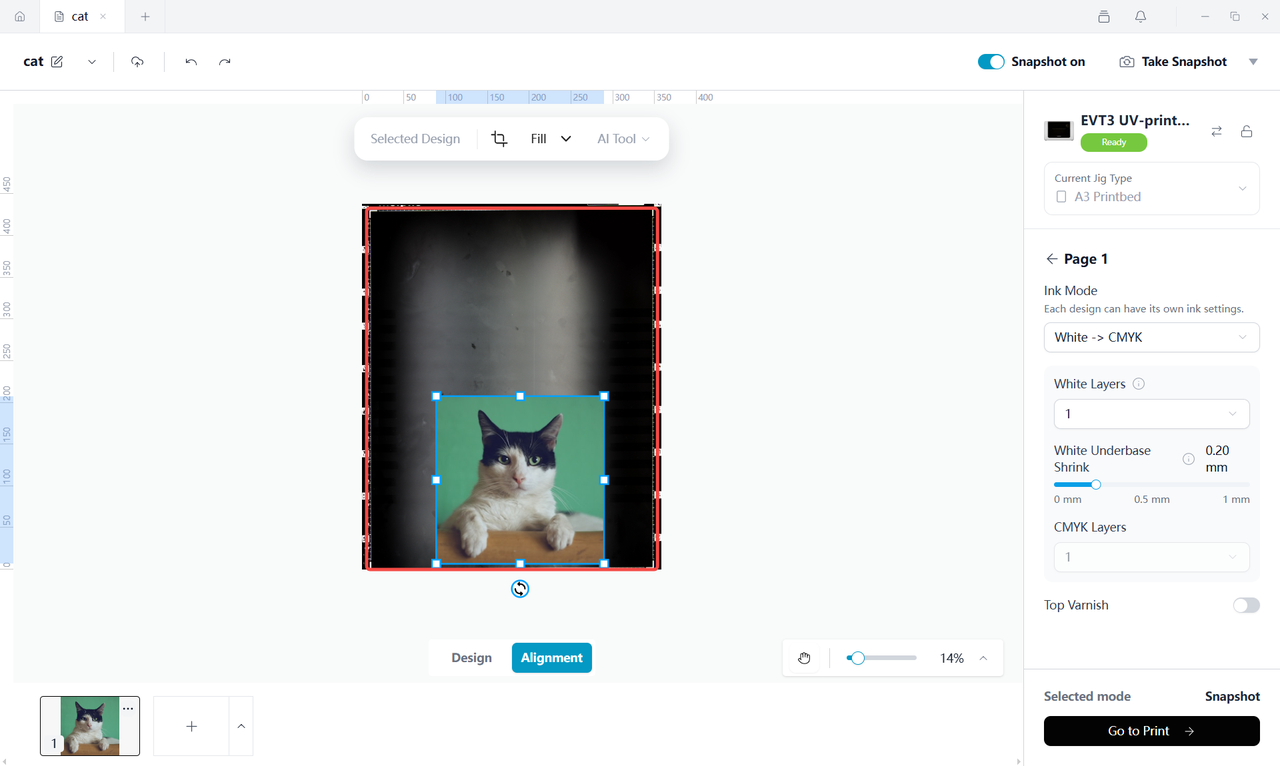
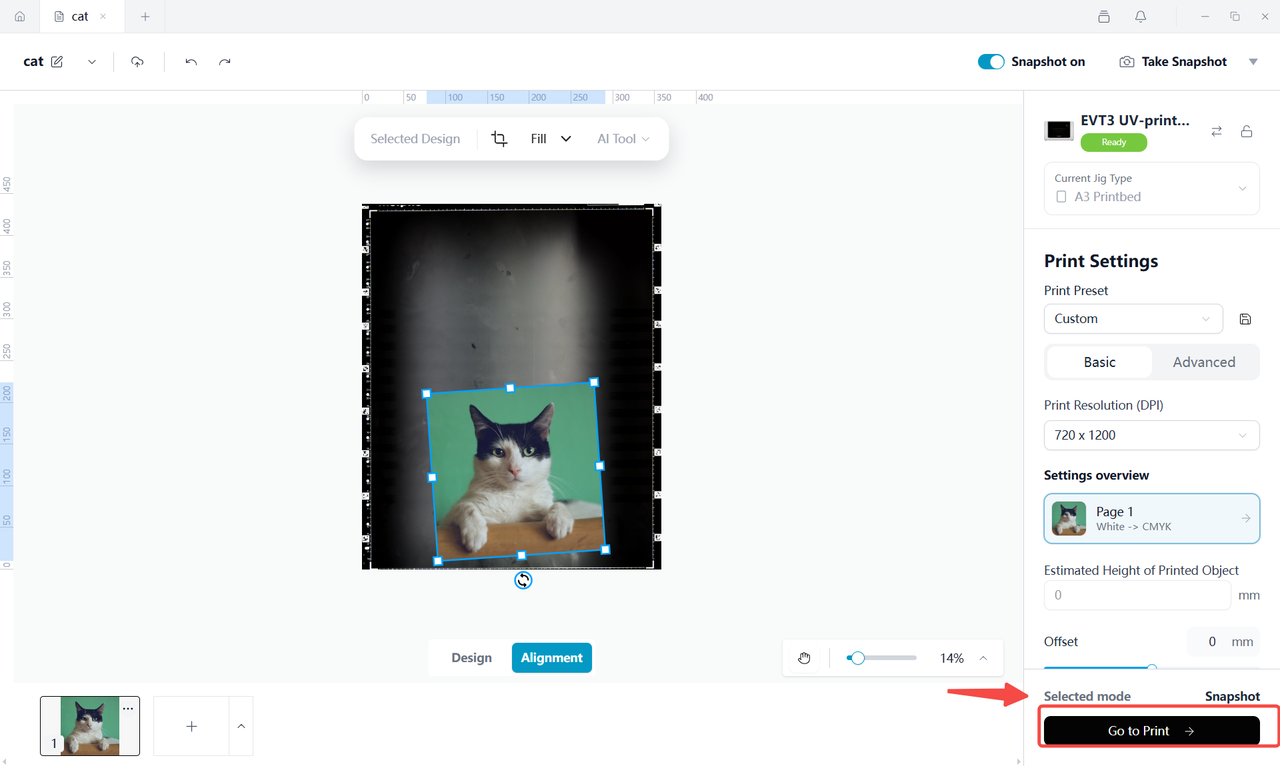
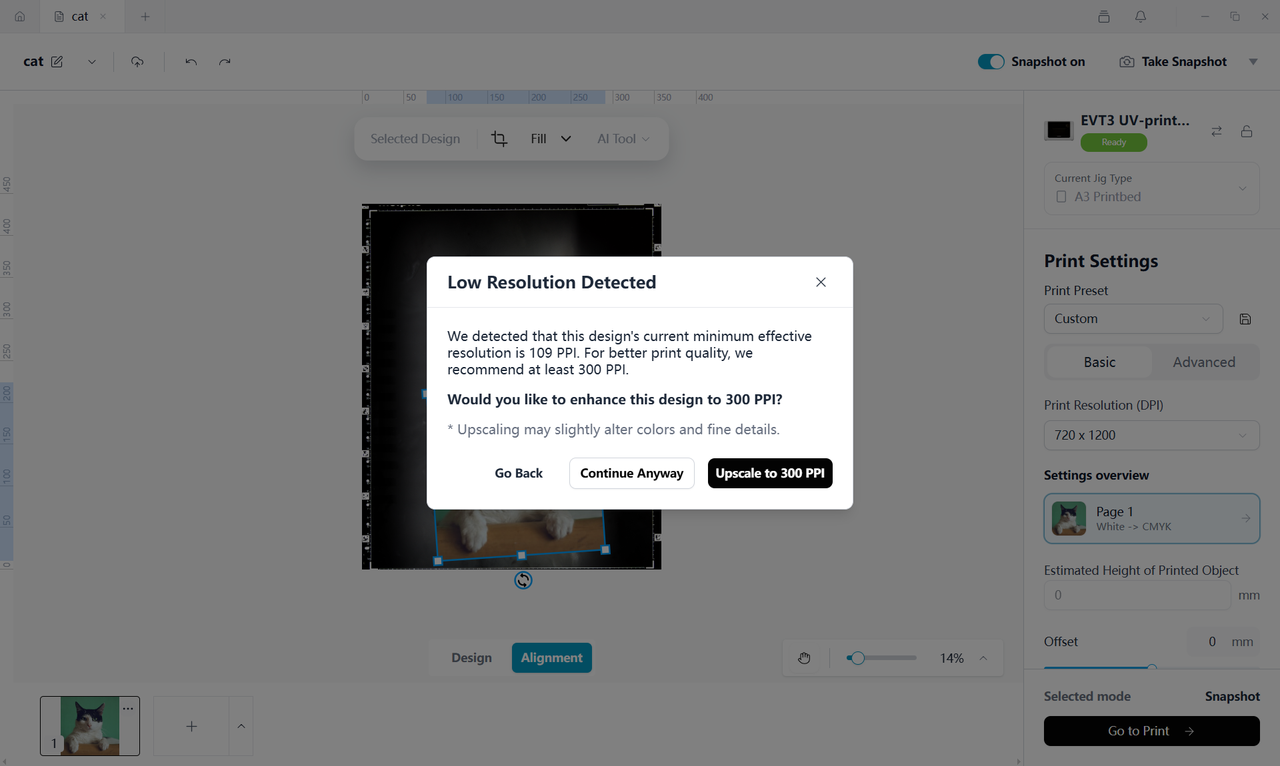
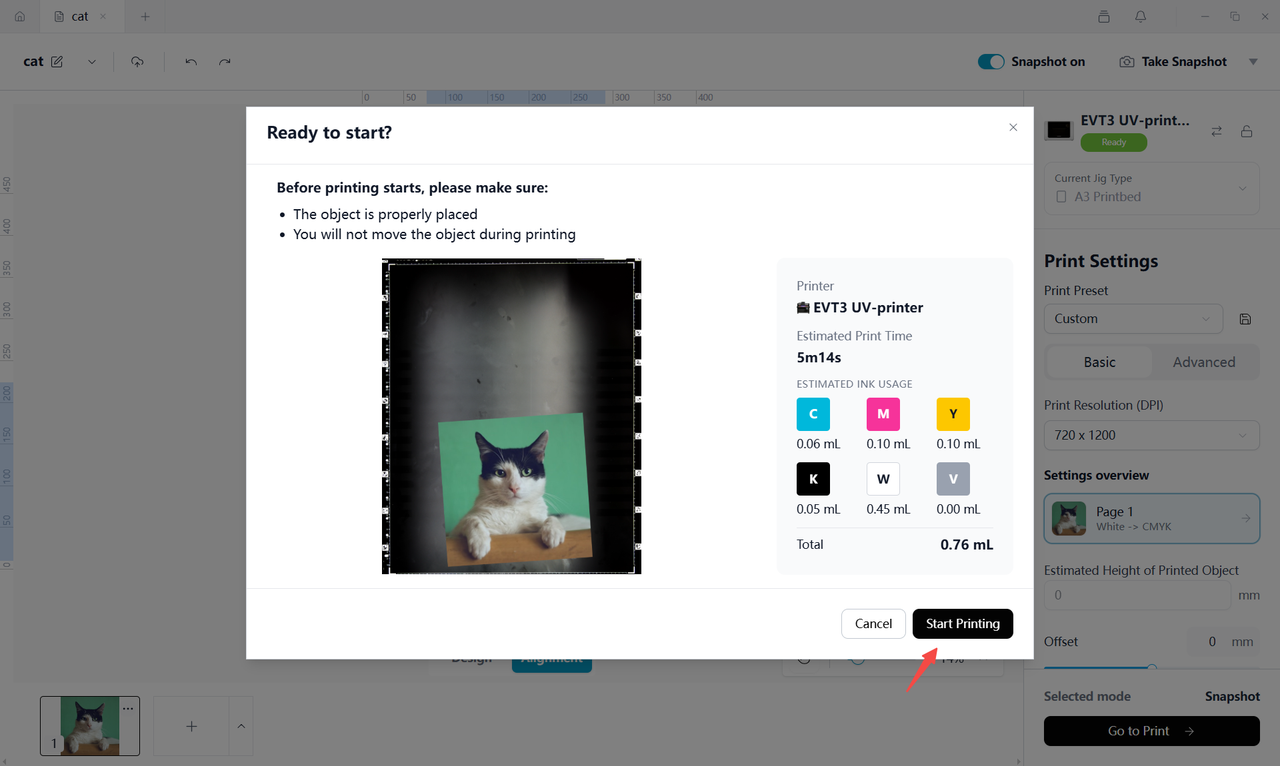
After the snapshot appears, drag your artwork onto the canvas, align it, and start printing.
-
Before printing, check the following:
-
Select the artwork.
-
Drag the artwork into the A3 Print Bed area.
-
Adjust the artwork size if necessary.
-
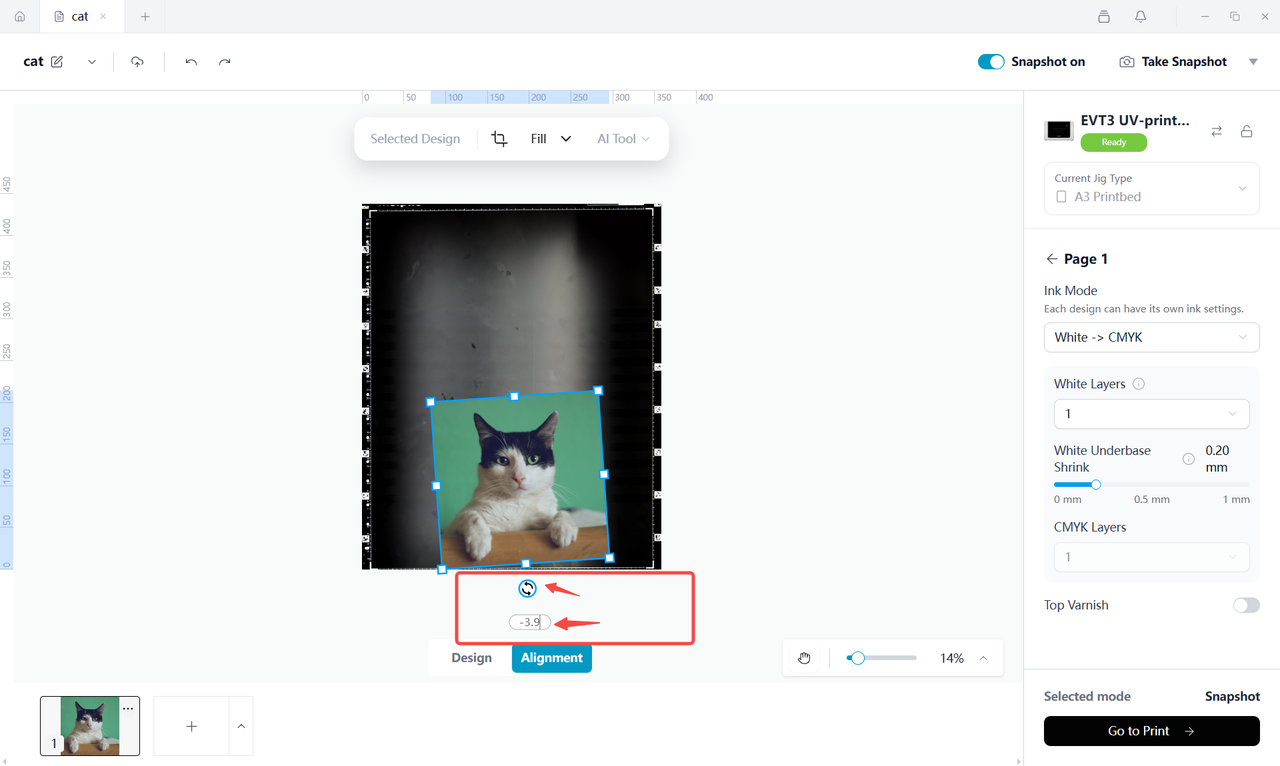
Adjust the artwork angle if needed. Click the Rotate button and enter the desired rotation angle.
-
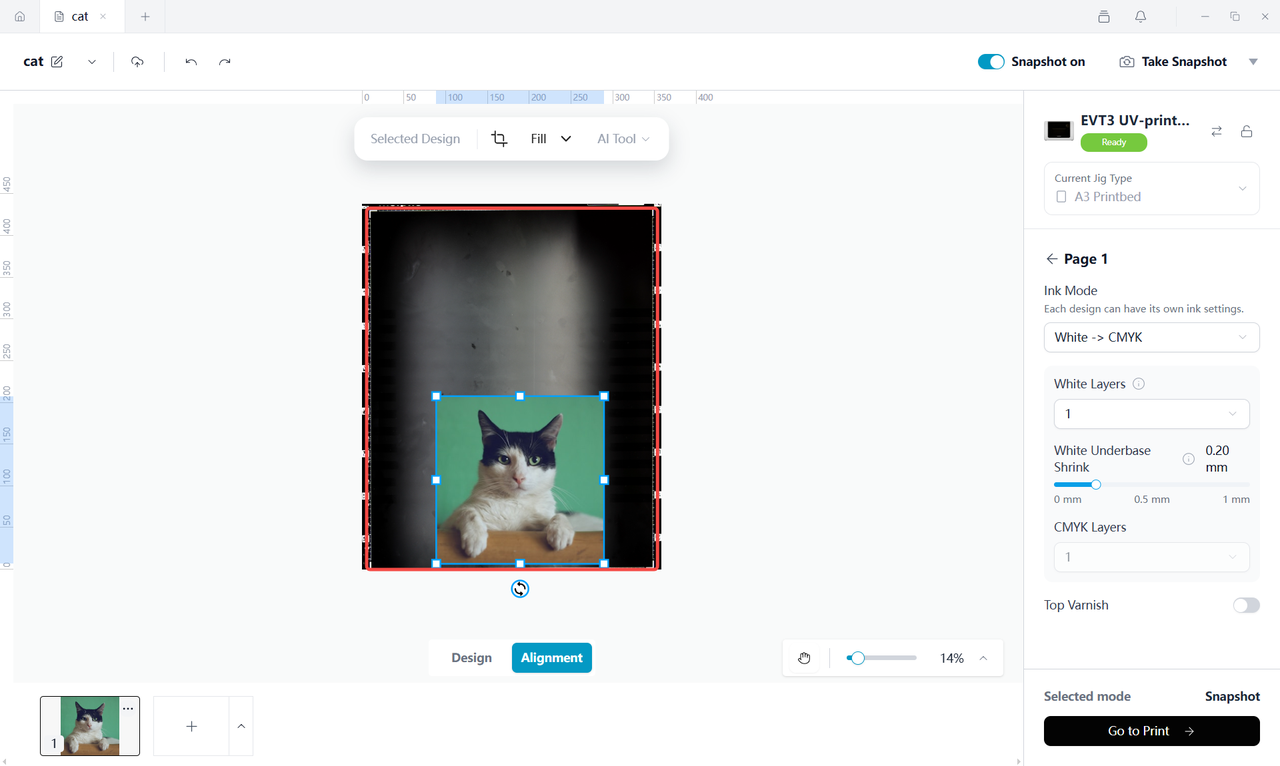
Zoom in to inspect the artwork edges.
-
Make sure the artwork remains completely inside the A3 printable area.
-
Ensure both the print bed and the material are flat, without lifted edges.
-
Make sure the print height will not interfere with printhead movement.
Note
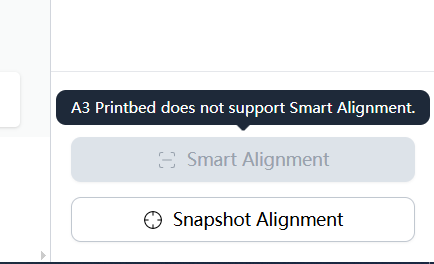
The A3 Print Bed does not support Smart Alignment mode.
¶ Frequently Asked Questions
¶ I installed the A3 Print Bed, but I don't see the print bed outline.
Check that the bed latch is fully locked.
Then open Alignment and verify that the canvas outline matches the size of the A3 Print Bed.
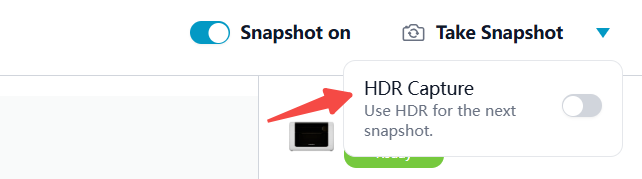
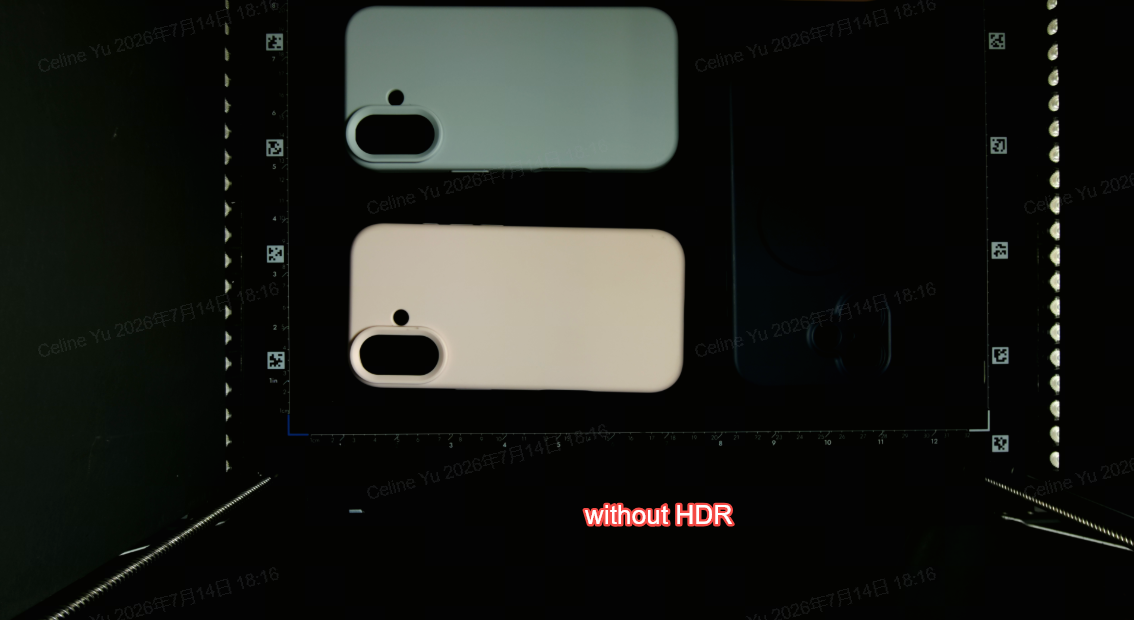
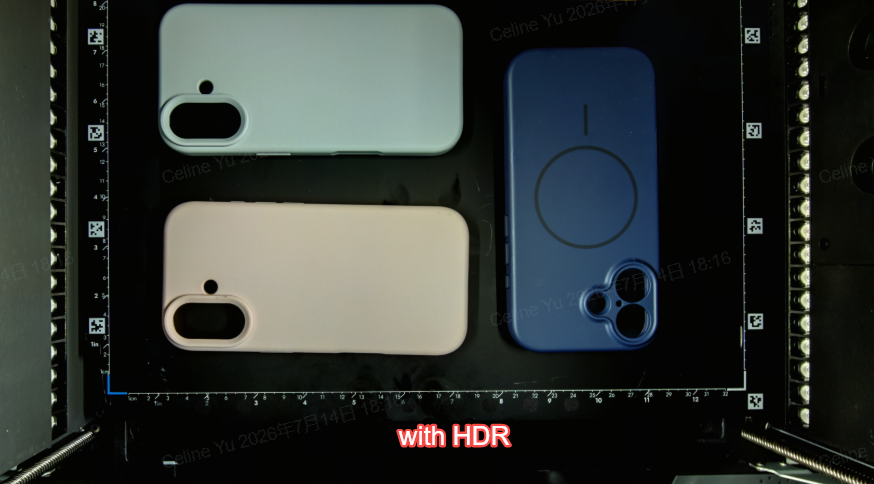
¶ The snapshot looks poor because the objects have different heights. What should I do?
Use HDR Capture next to Take Snapshot to improve image quality.
The images below compare Snapshot Alignment with HDR Capture disabled and enabled.
¶ My artwork extends beyond the A3 printable area.
Reduce the artwork size or move it until it fits completely inside the A3 printable area.
Printing outside the printable area may cause printing issues.
¶ What is recommended for the first print with the A3 Print Bed?
We recommend performing a test print on paper or scrap material first.
After confirming the position, orientation, and size are correct, proceed with printing your final object.