¶ Video Guide
¶ Preparation
Note: Keep the object still during Smart Scanning. Light interference may affect resolution.
Before starting, prepare the Morpho UV Printer, Morpho Studio, the A4 tray, the printable object for the first print, and artwork files for the 2D print and relief print. Complete this section before starting either print workflow.
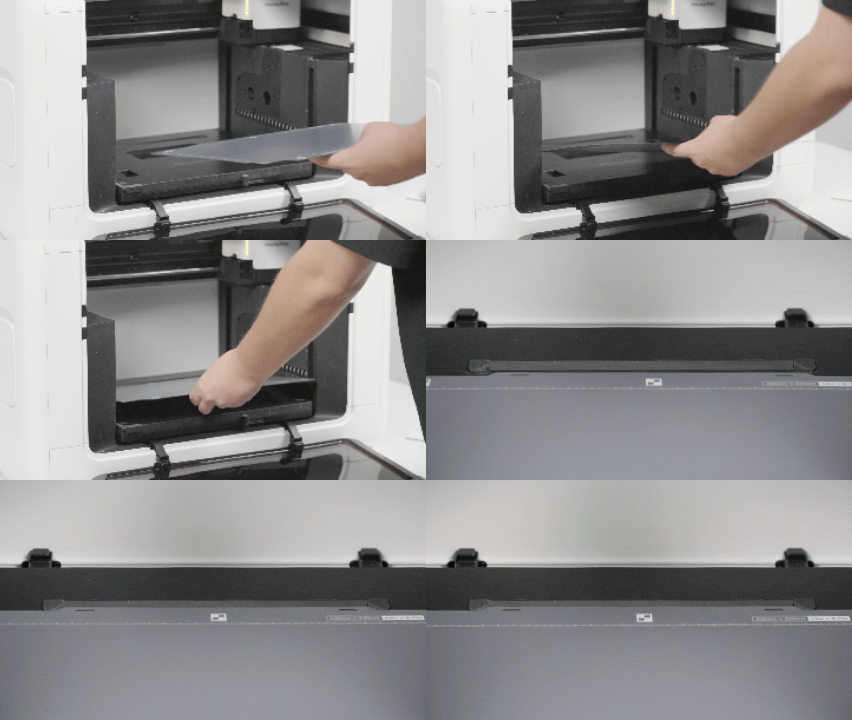
- Place the A4 tray flat on the print bed.
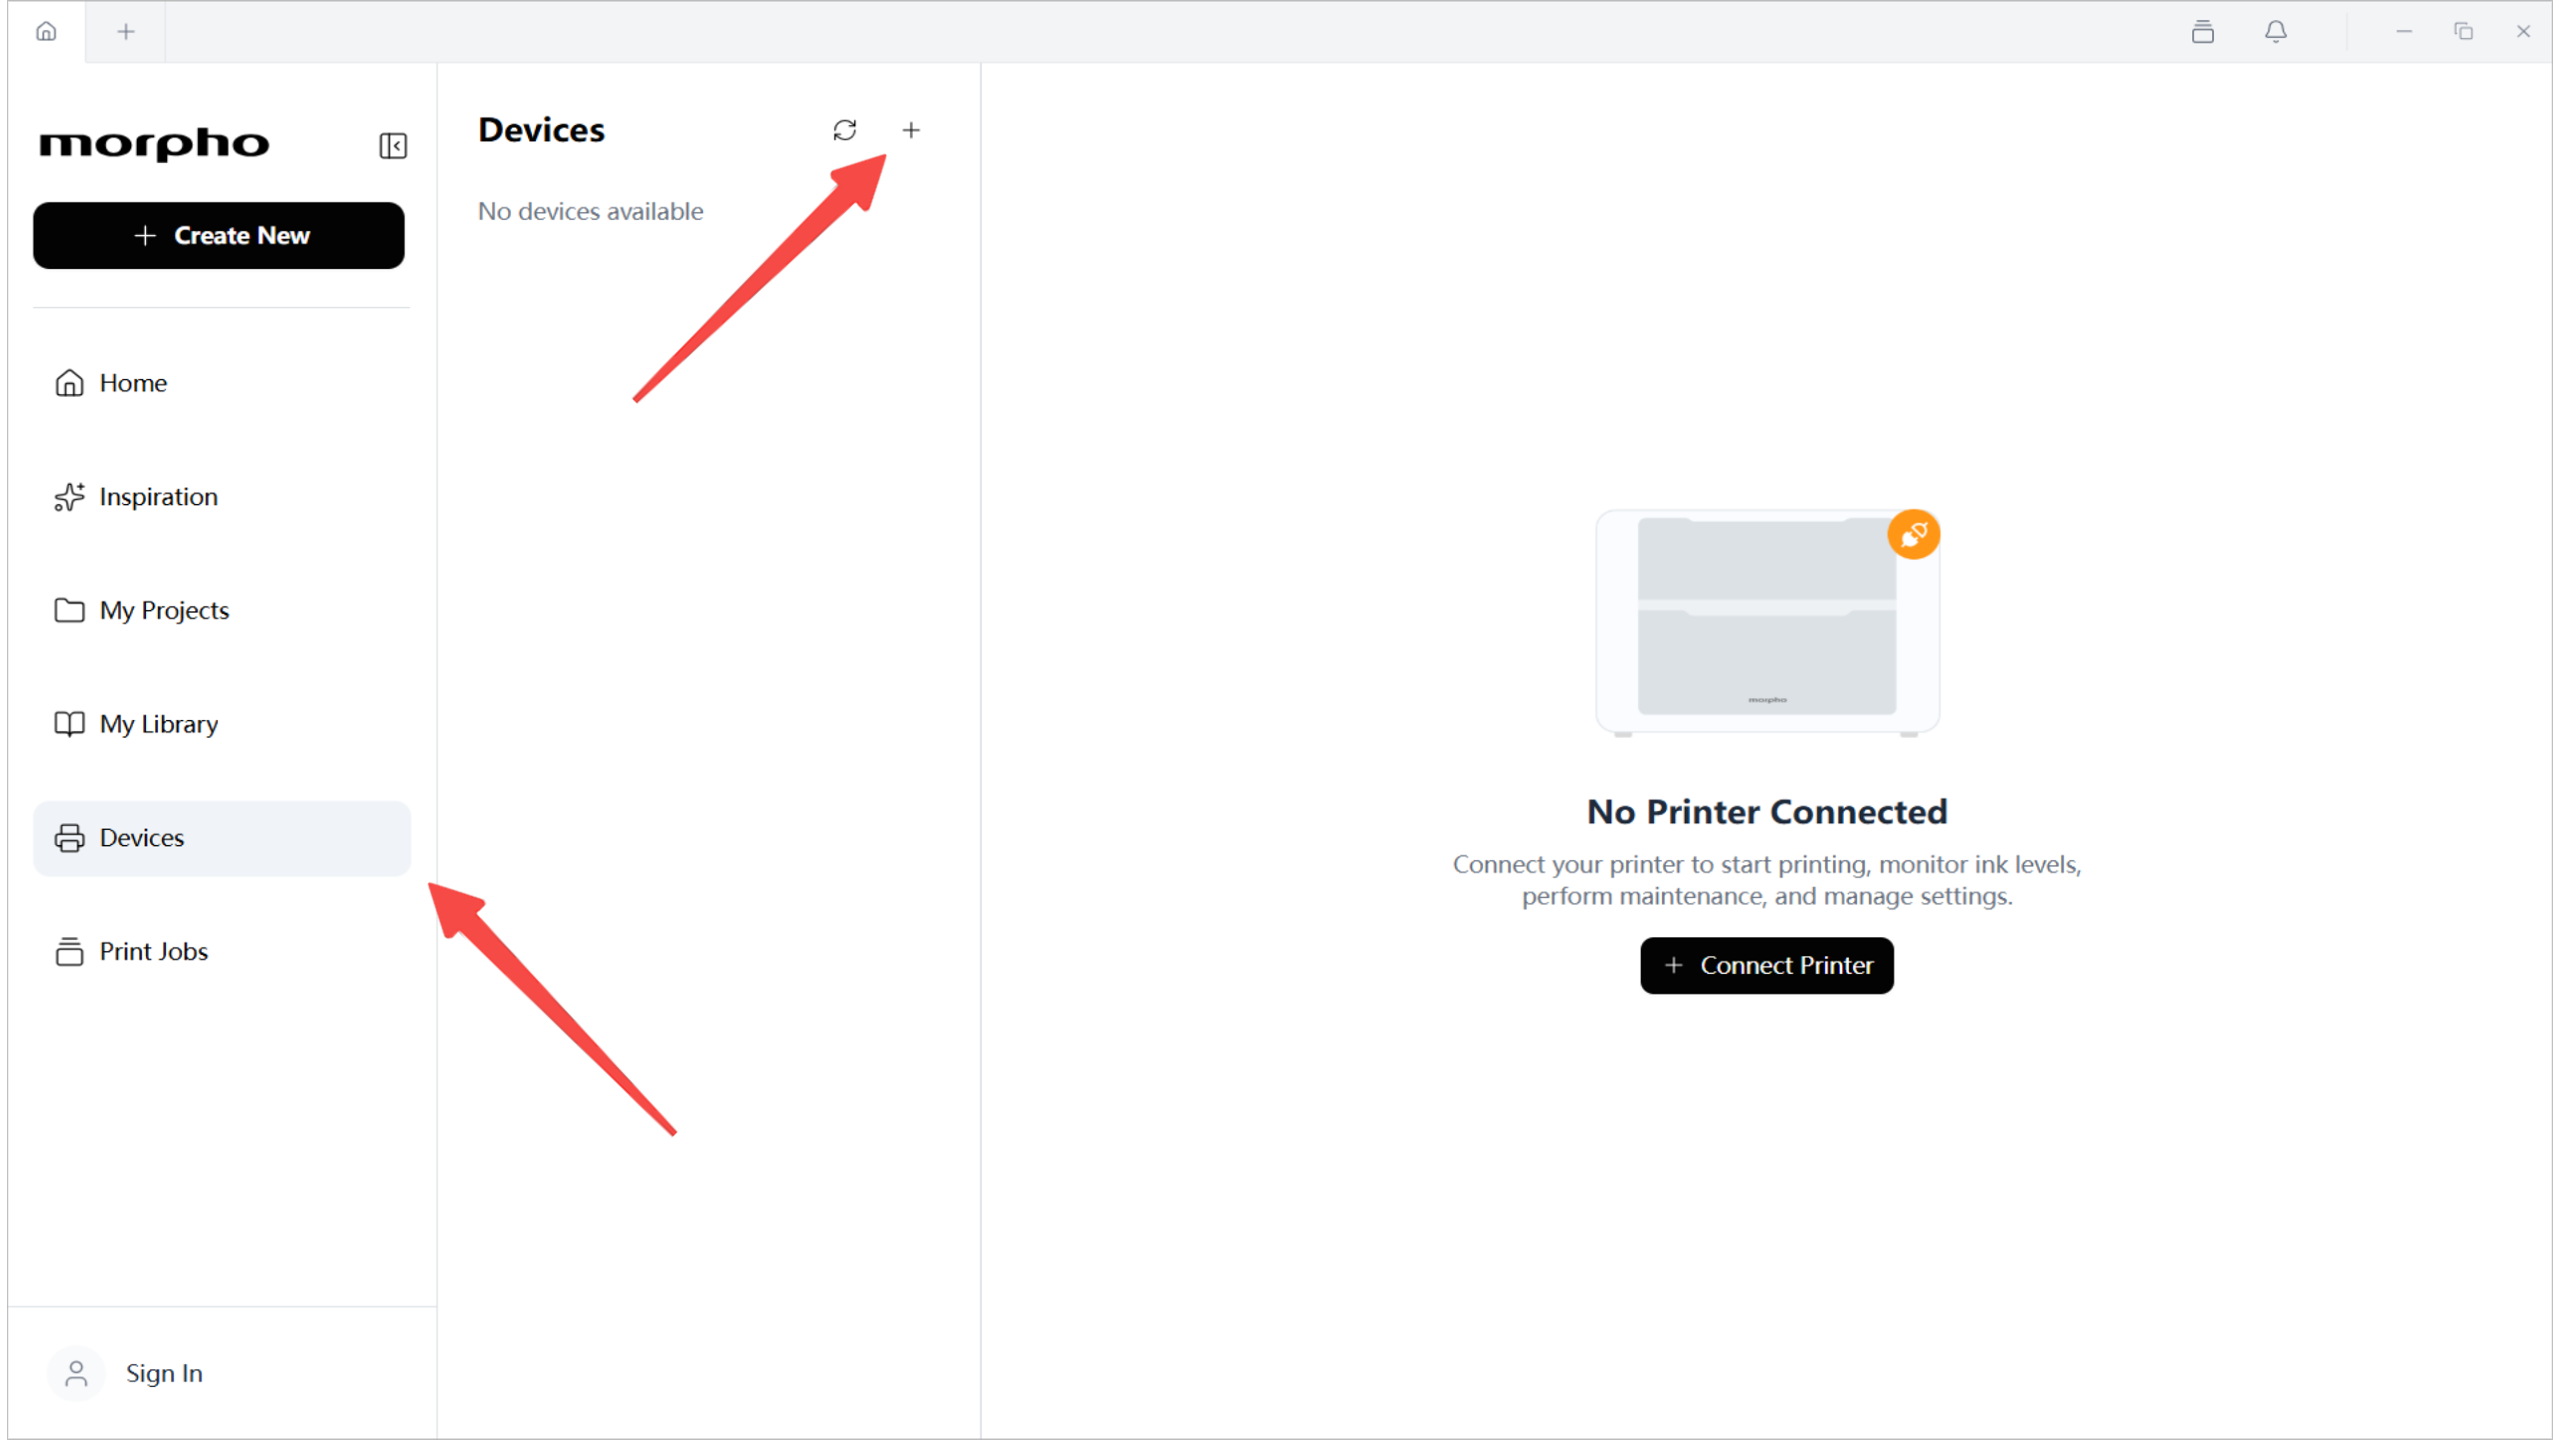
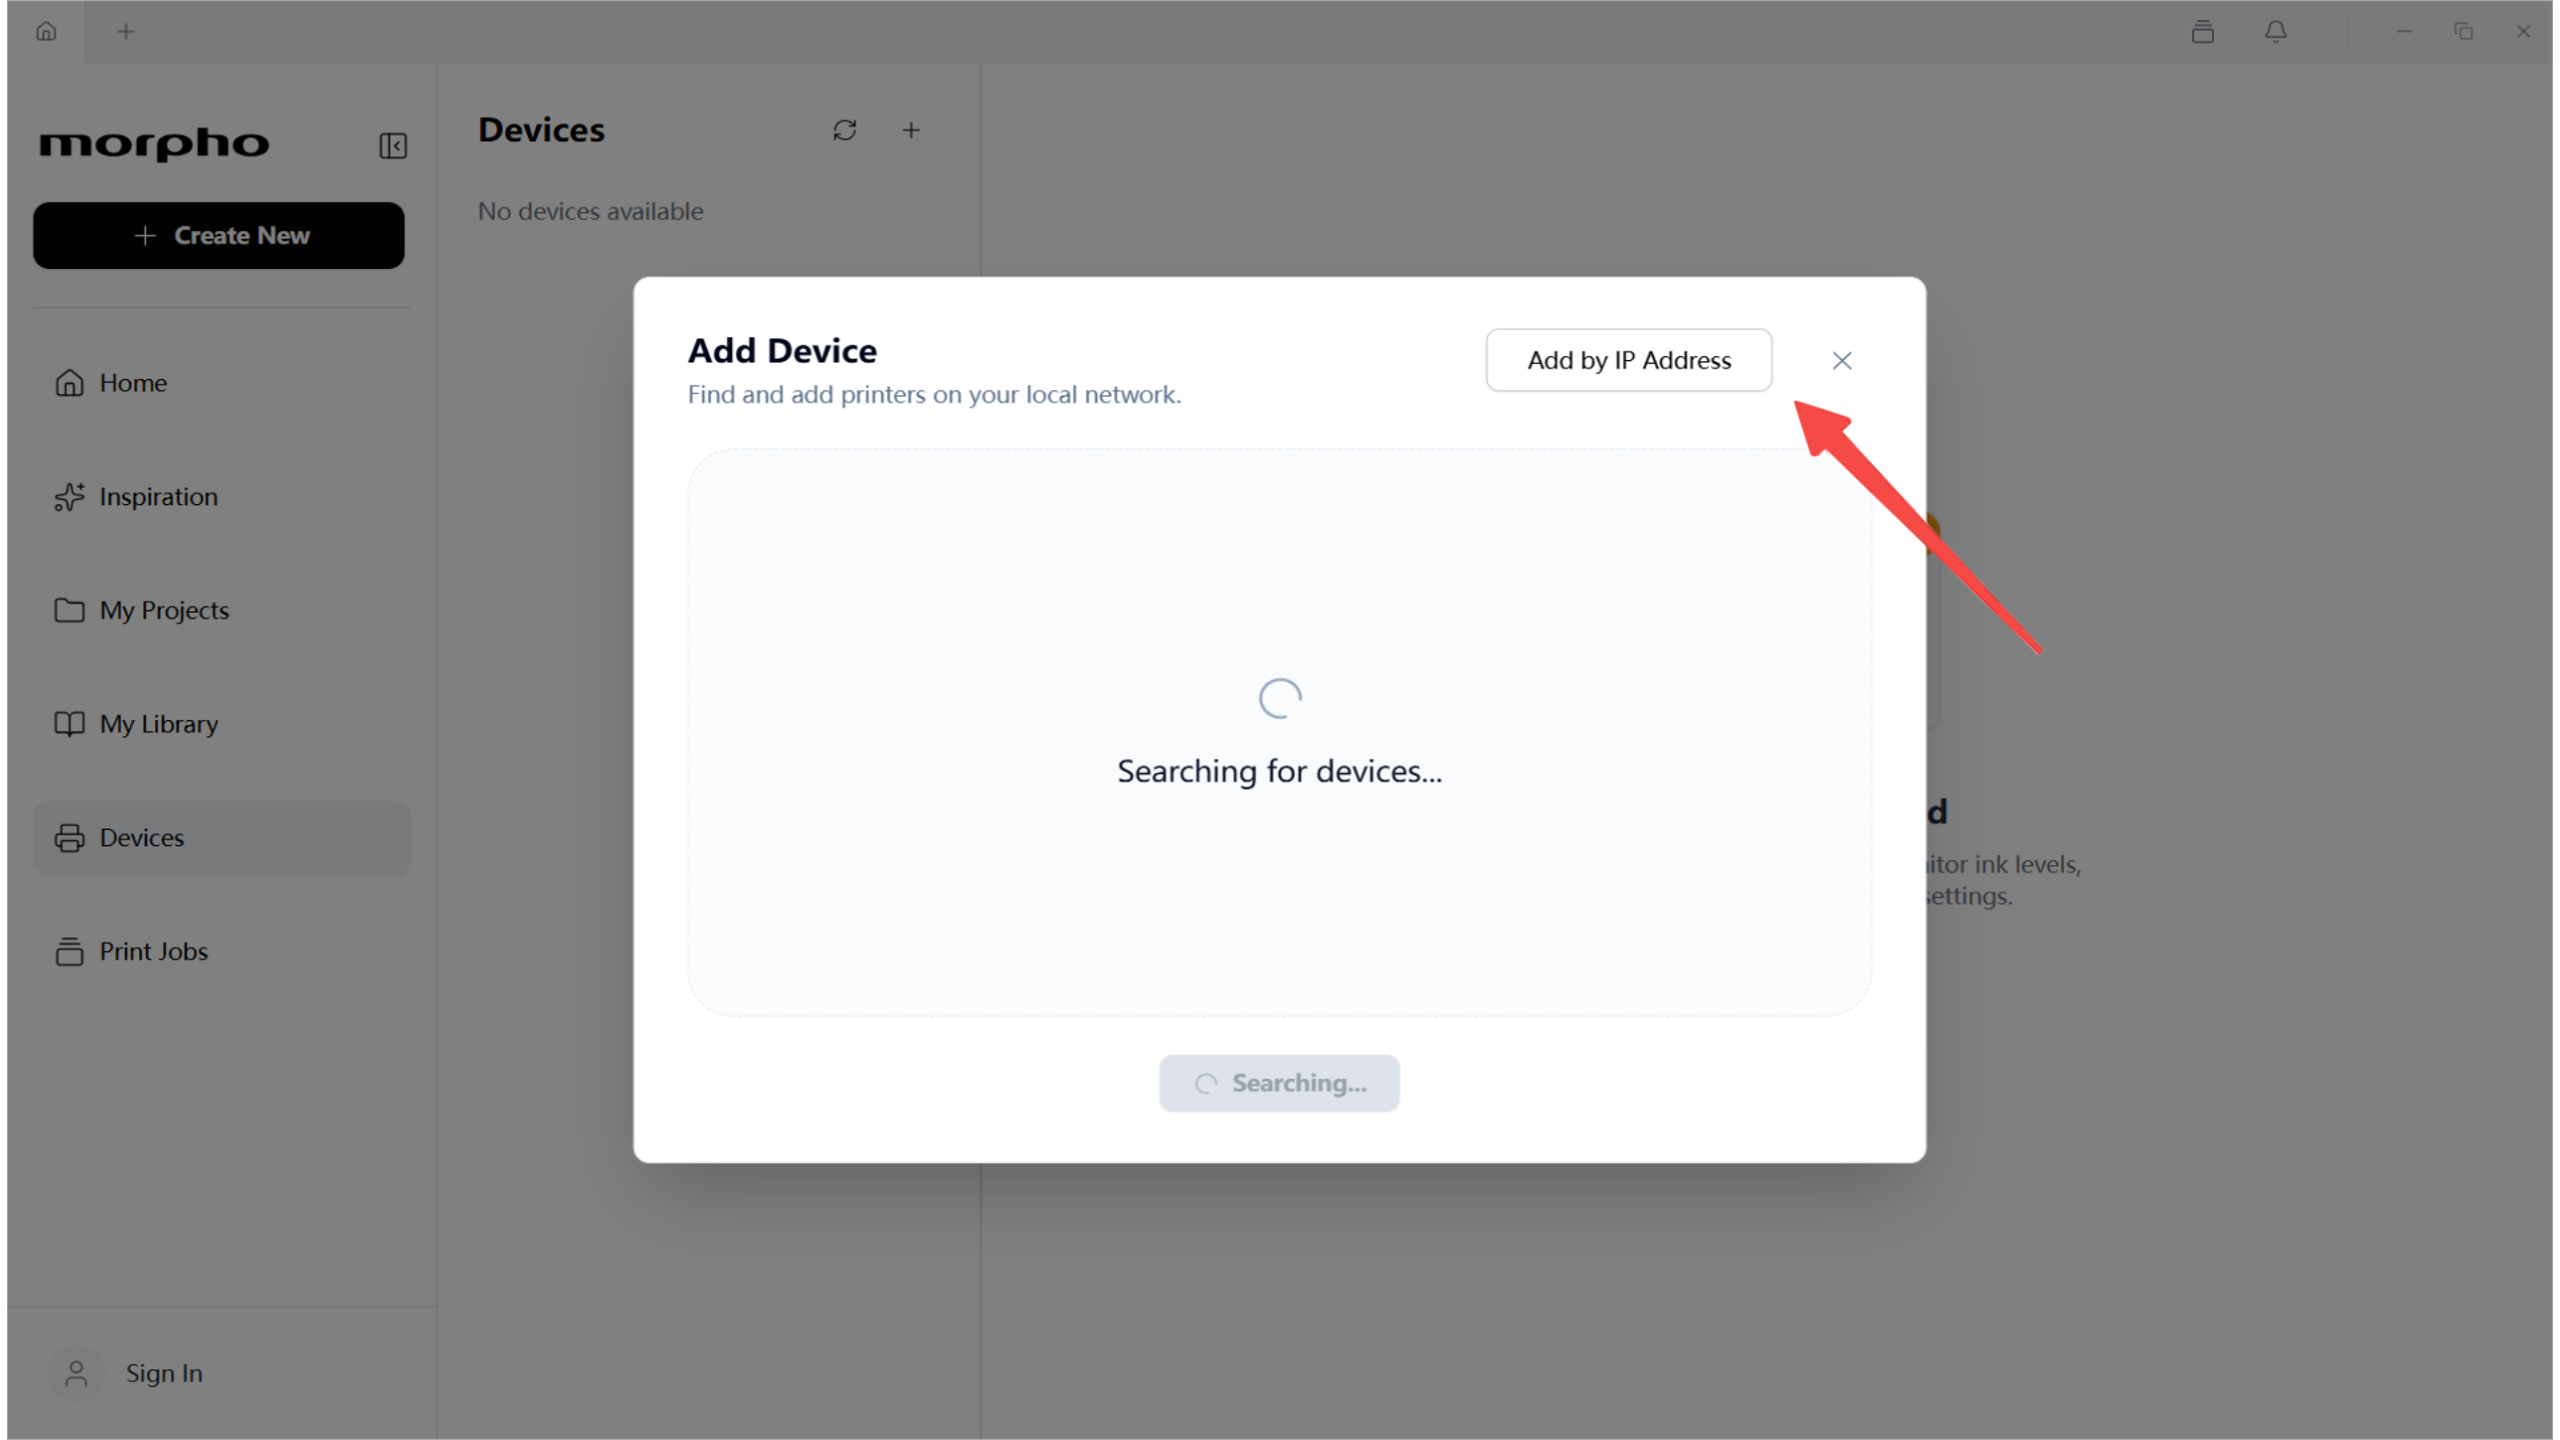
- Open Morpho Studio. Click Devices, click +, and add the printer from the local device list. If the printer must be added by IP address, click Add by IP Address.
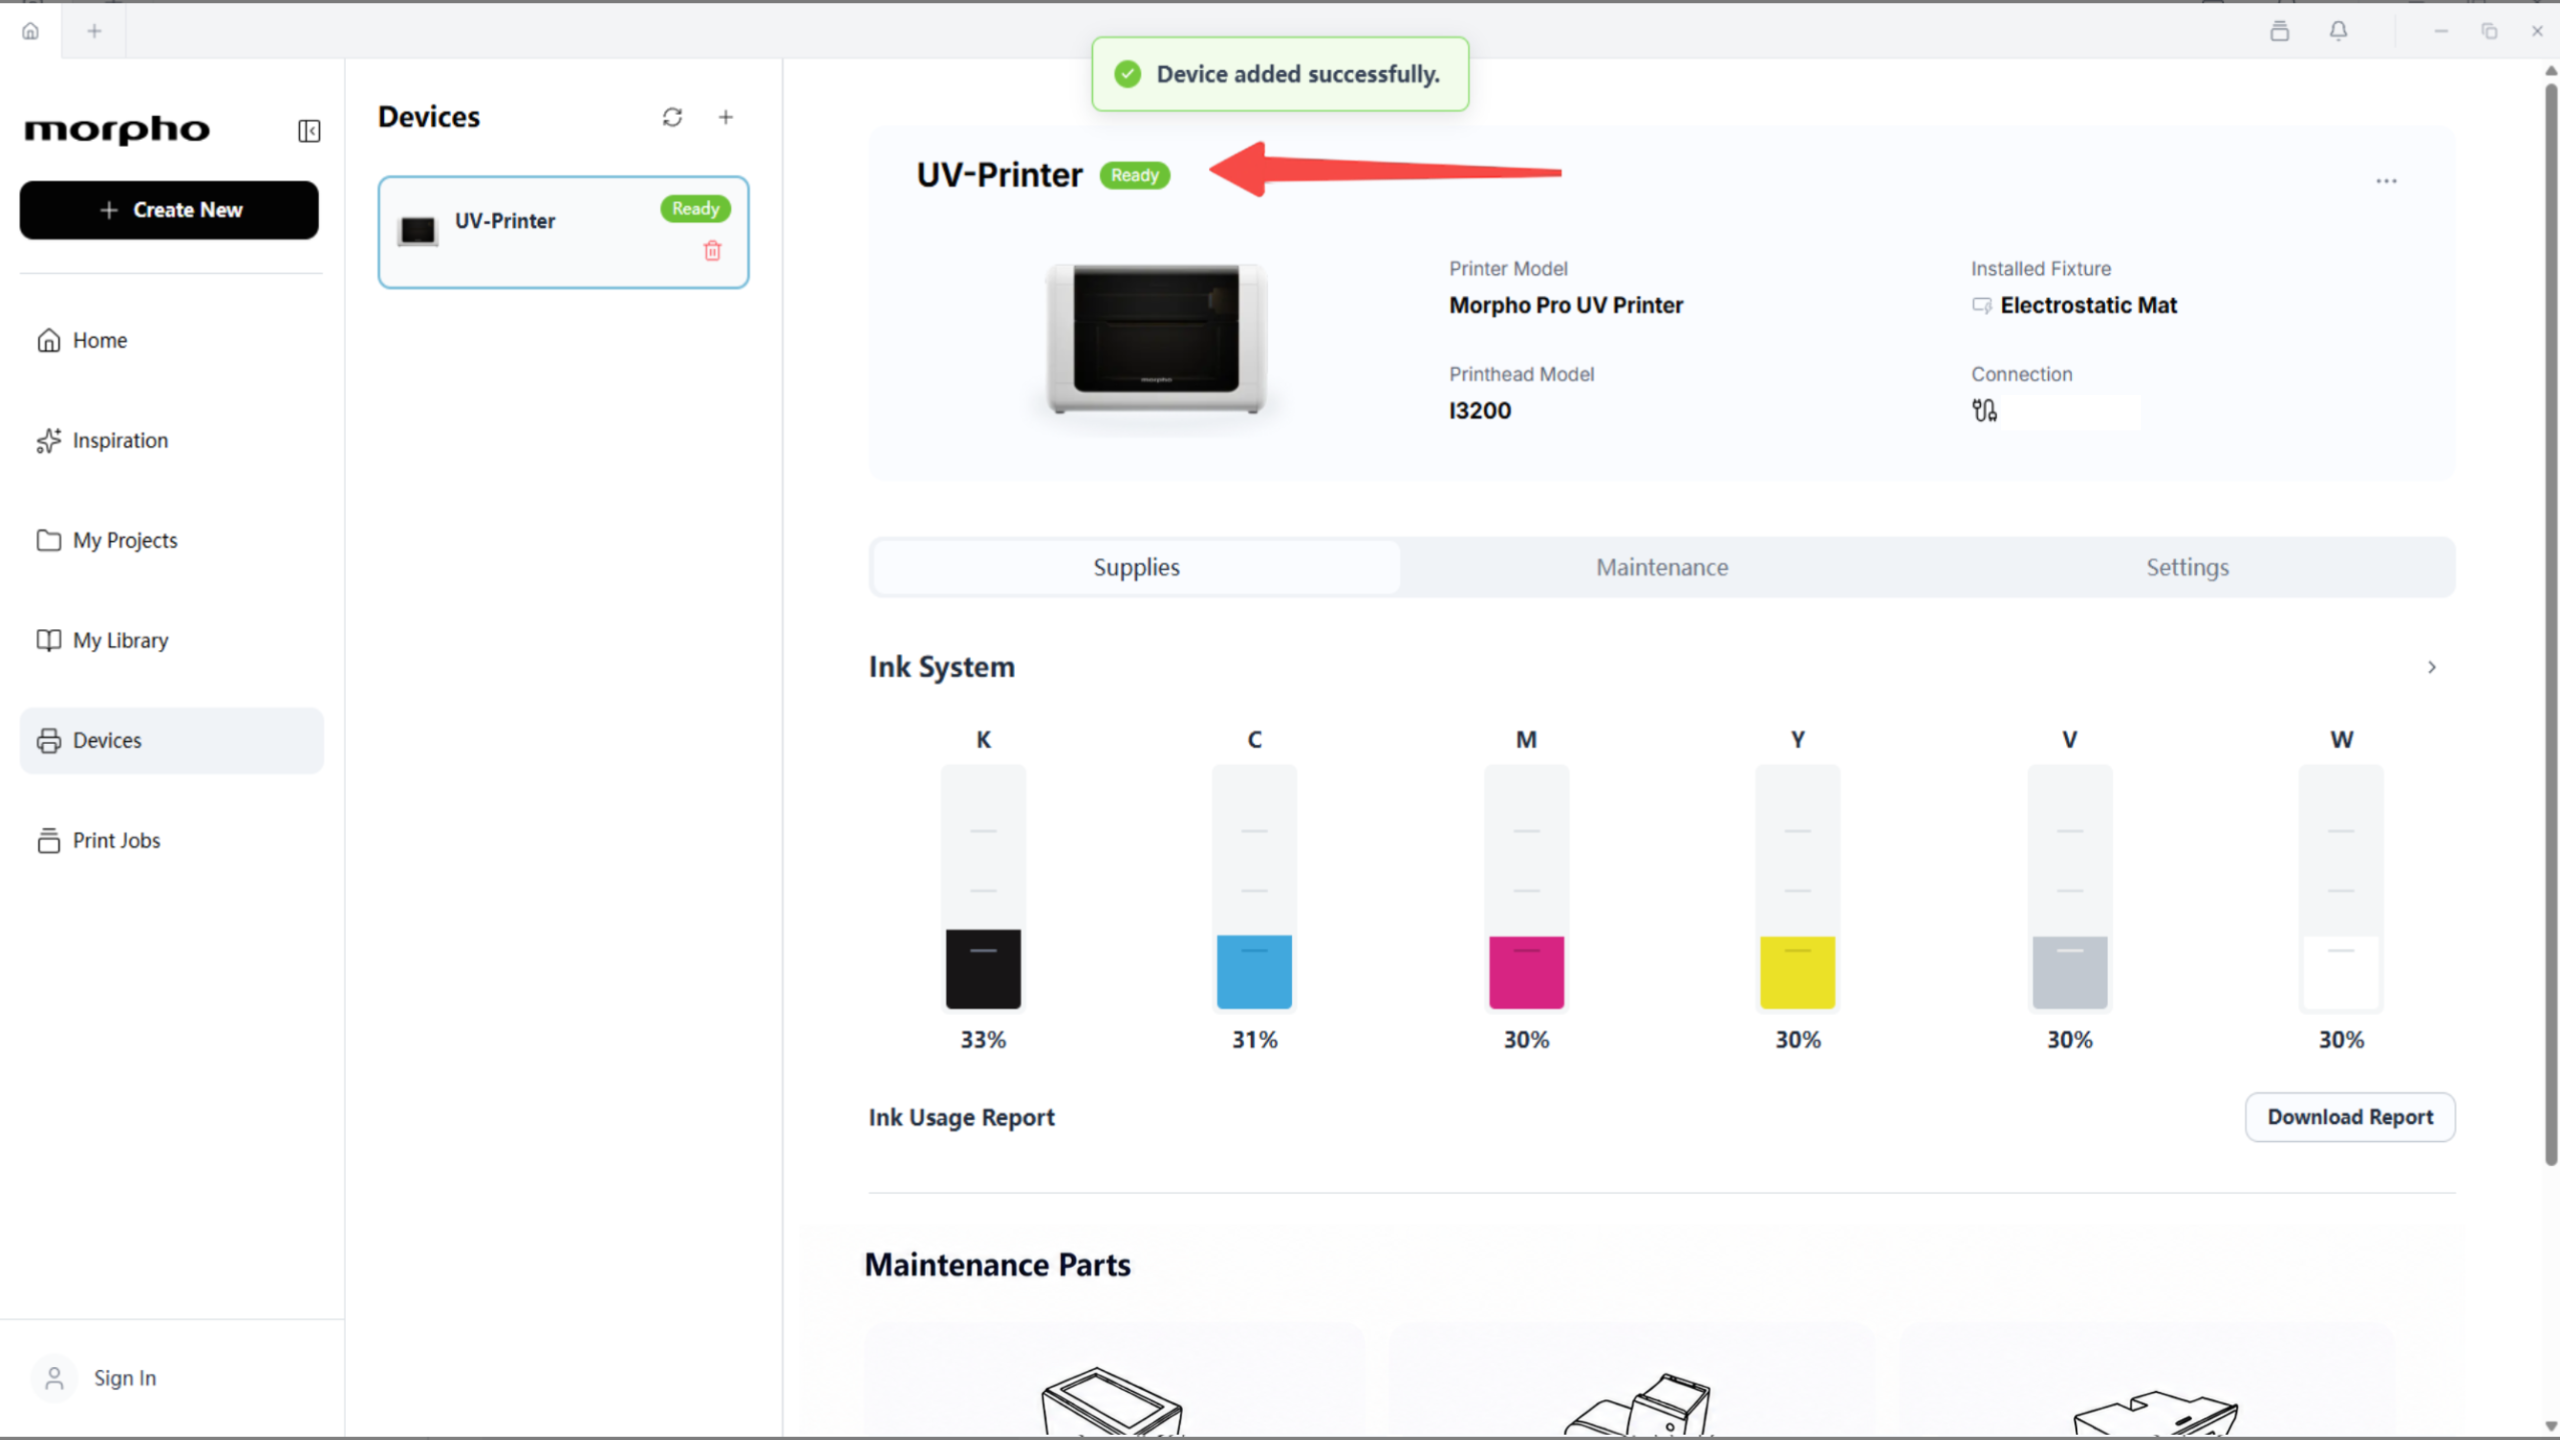
- Confirm that the printer status shows Ready and that the installed fixture shows A4 Tray.
¶ Make Your First 2D Print
¶ Step 1: Open Morpho Studio and Create the 2D Print Canvas
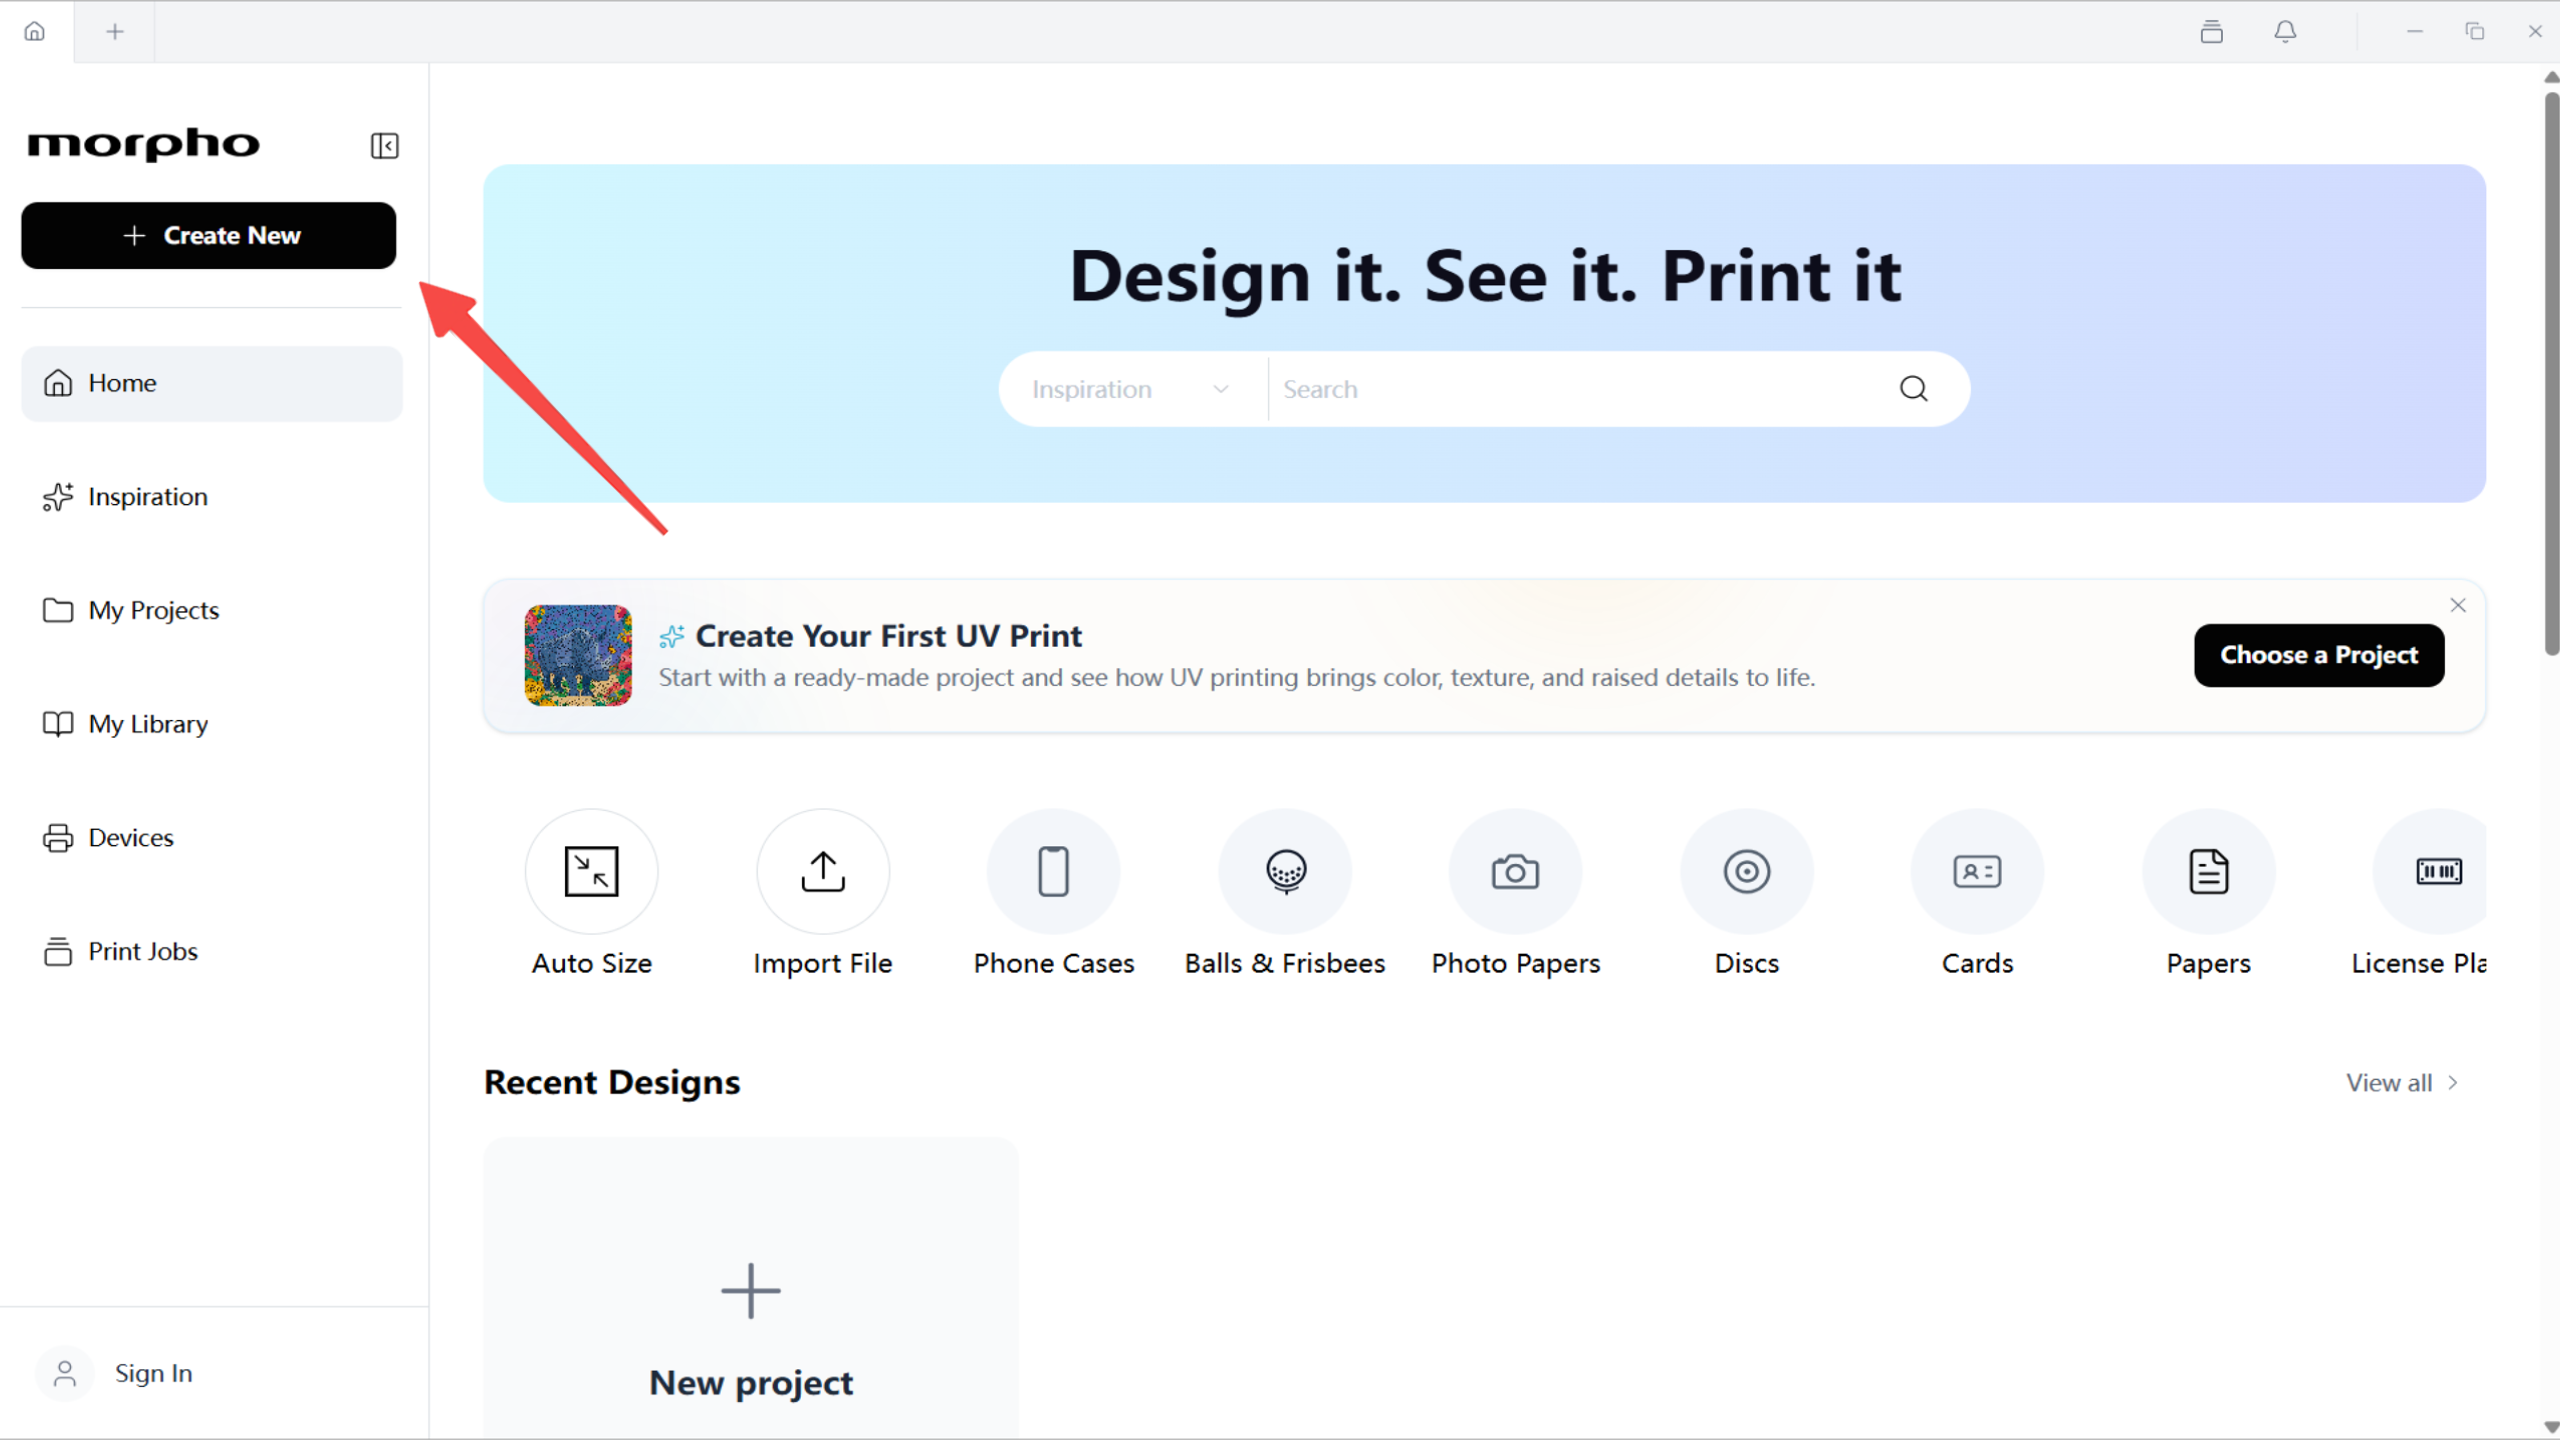
- Open Morpho Studio.
- Click Create New.
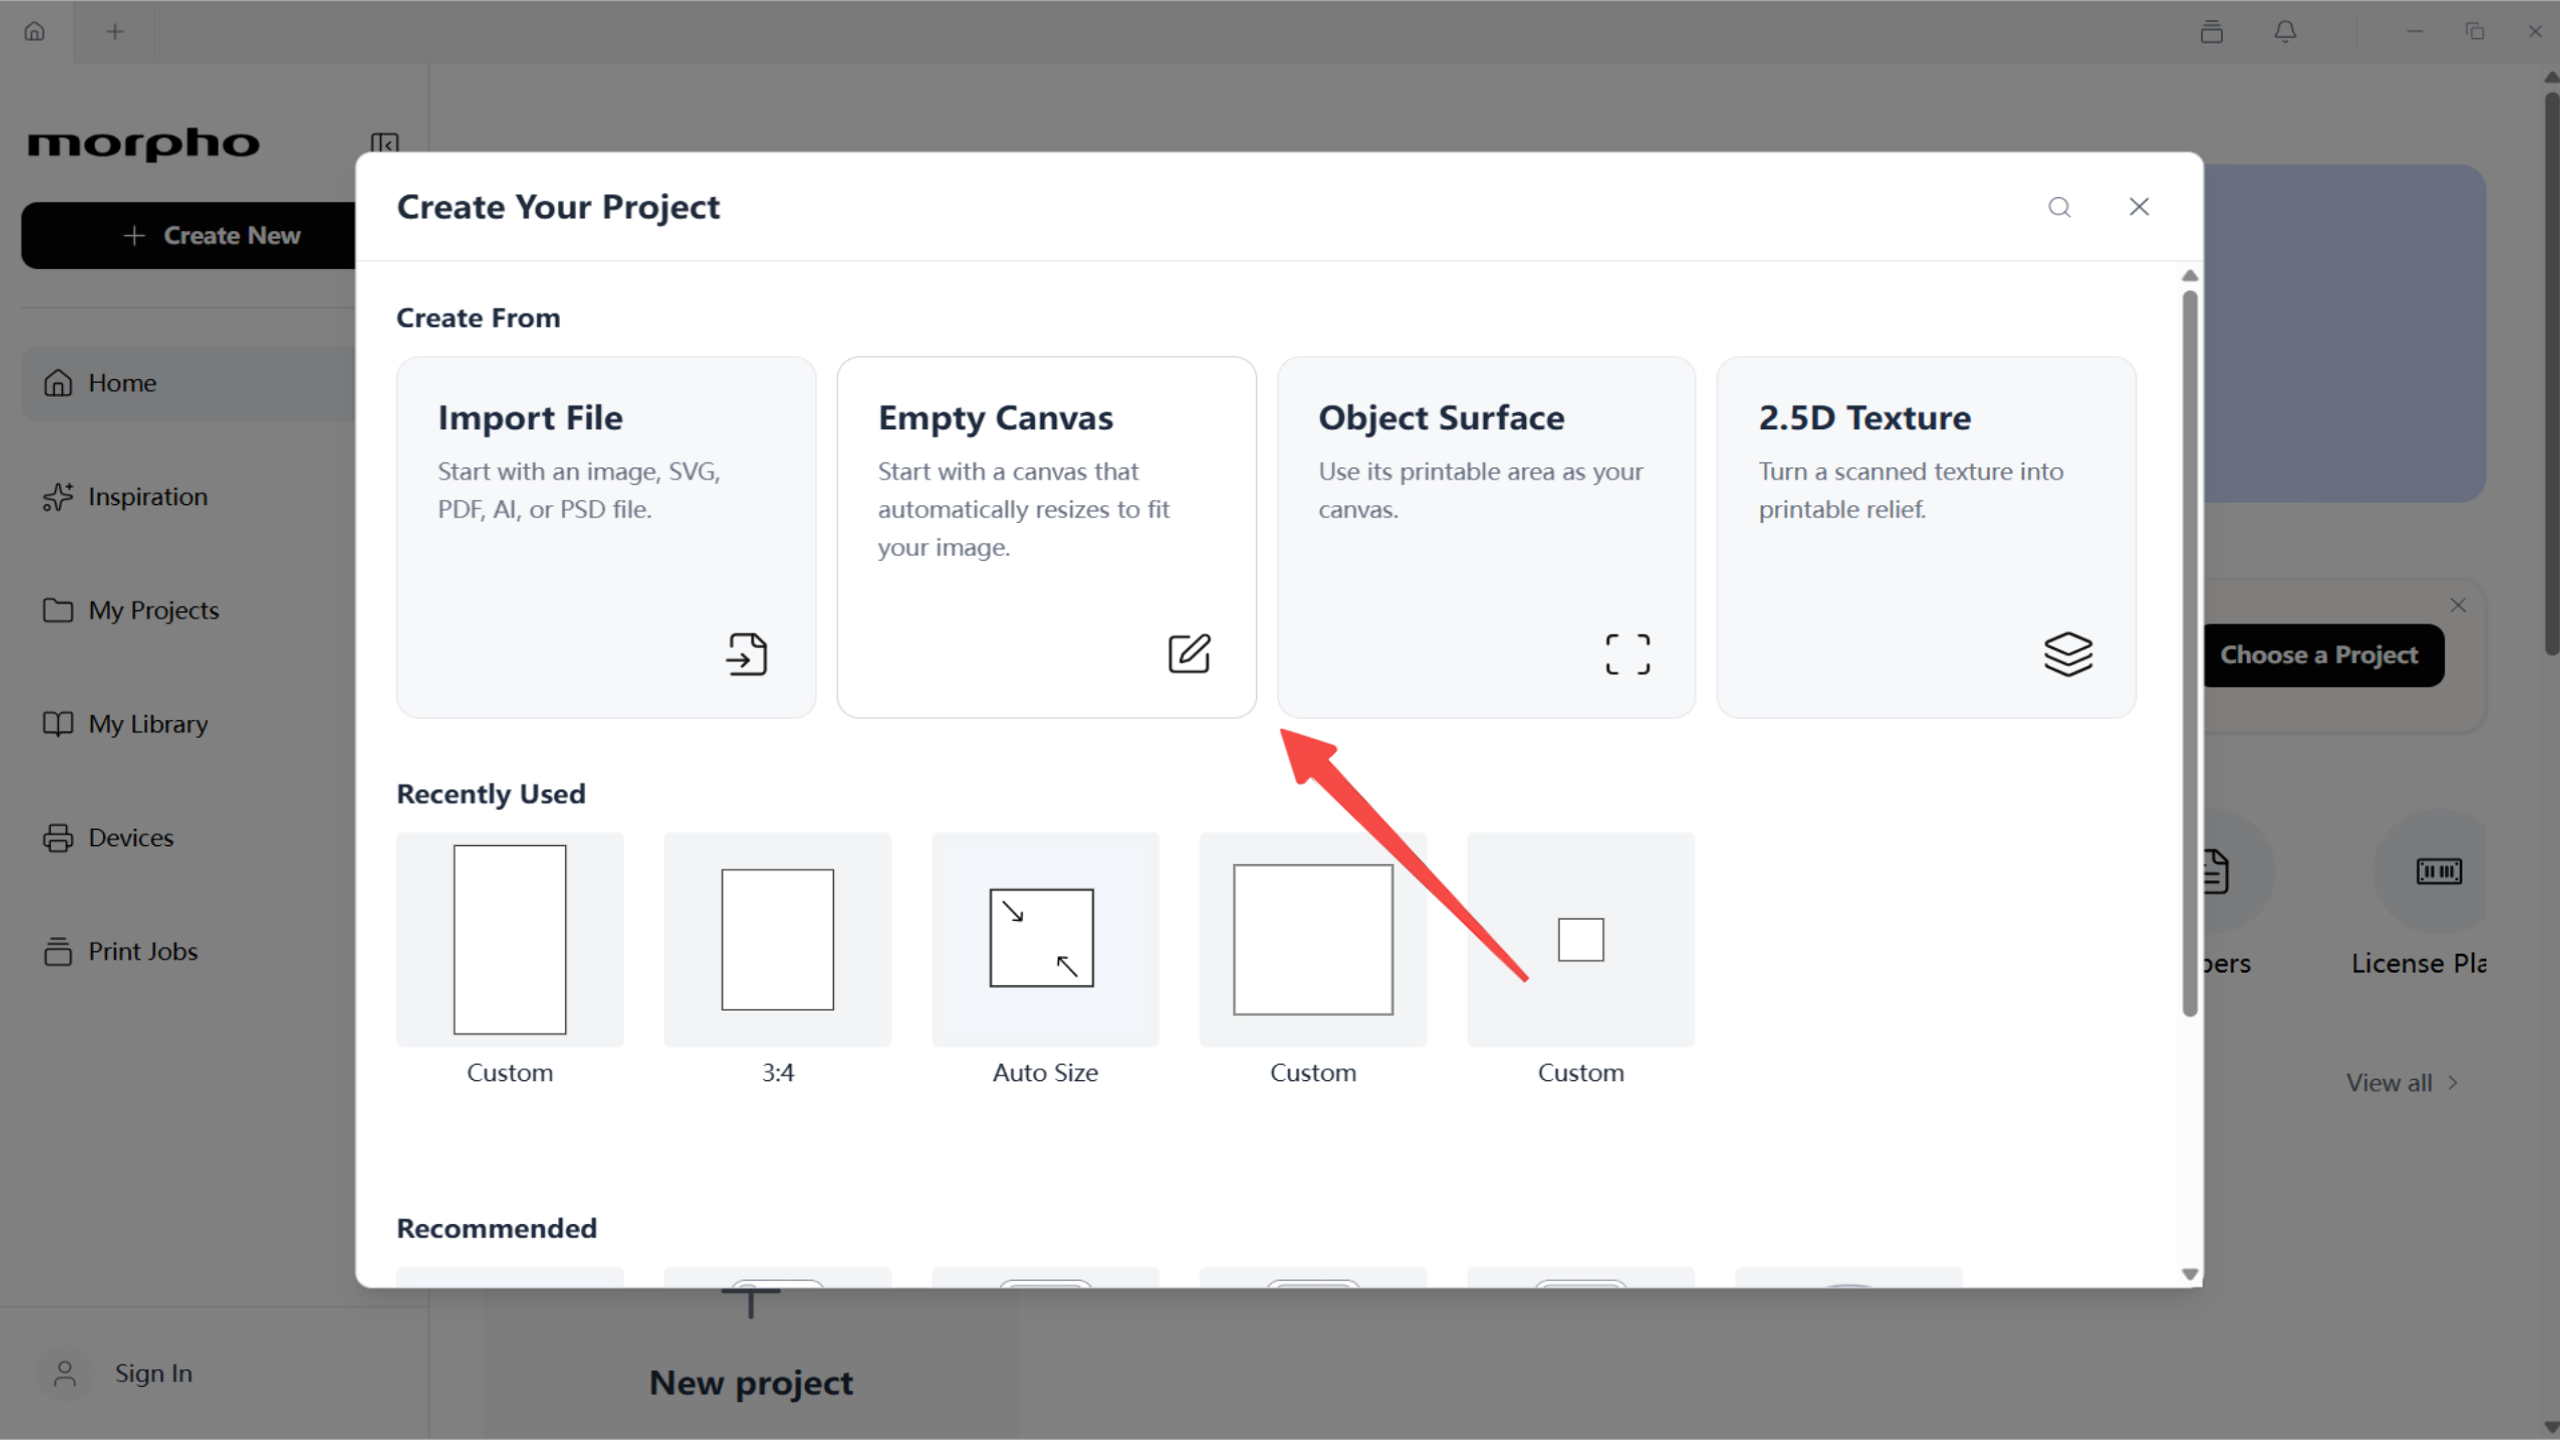
- Select Empty Canvas.
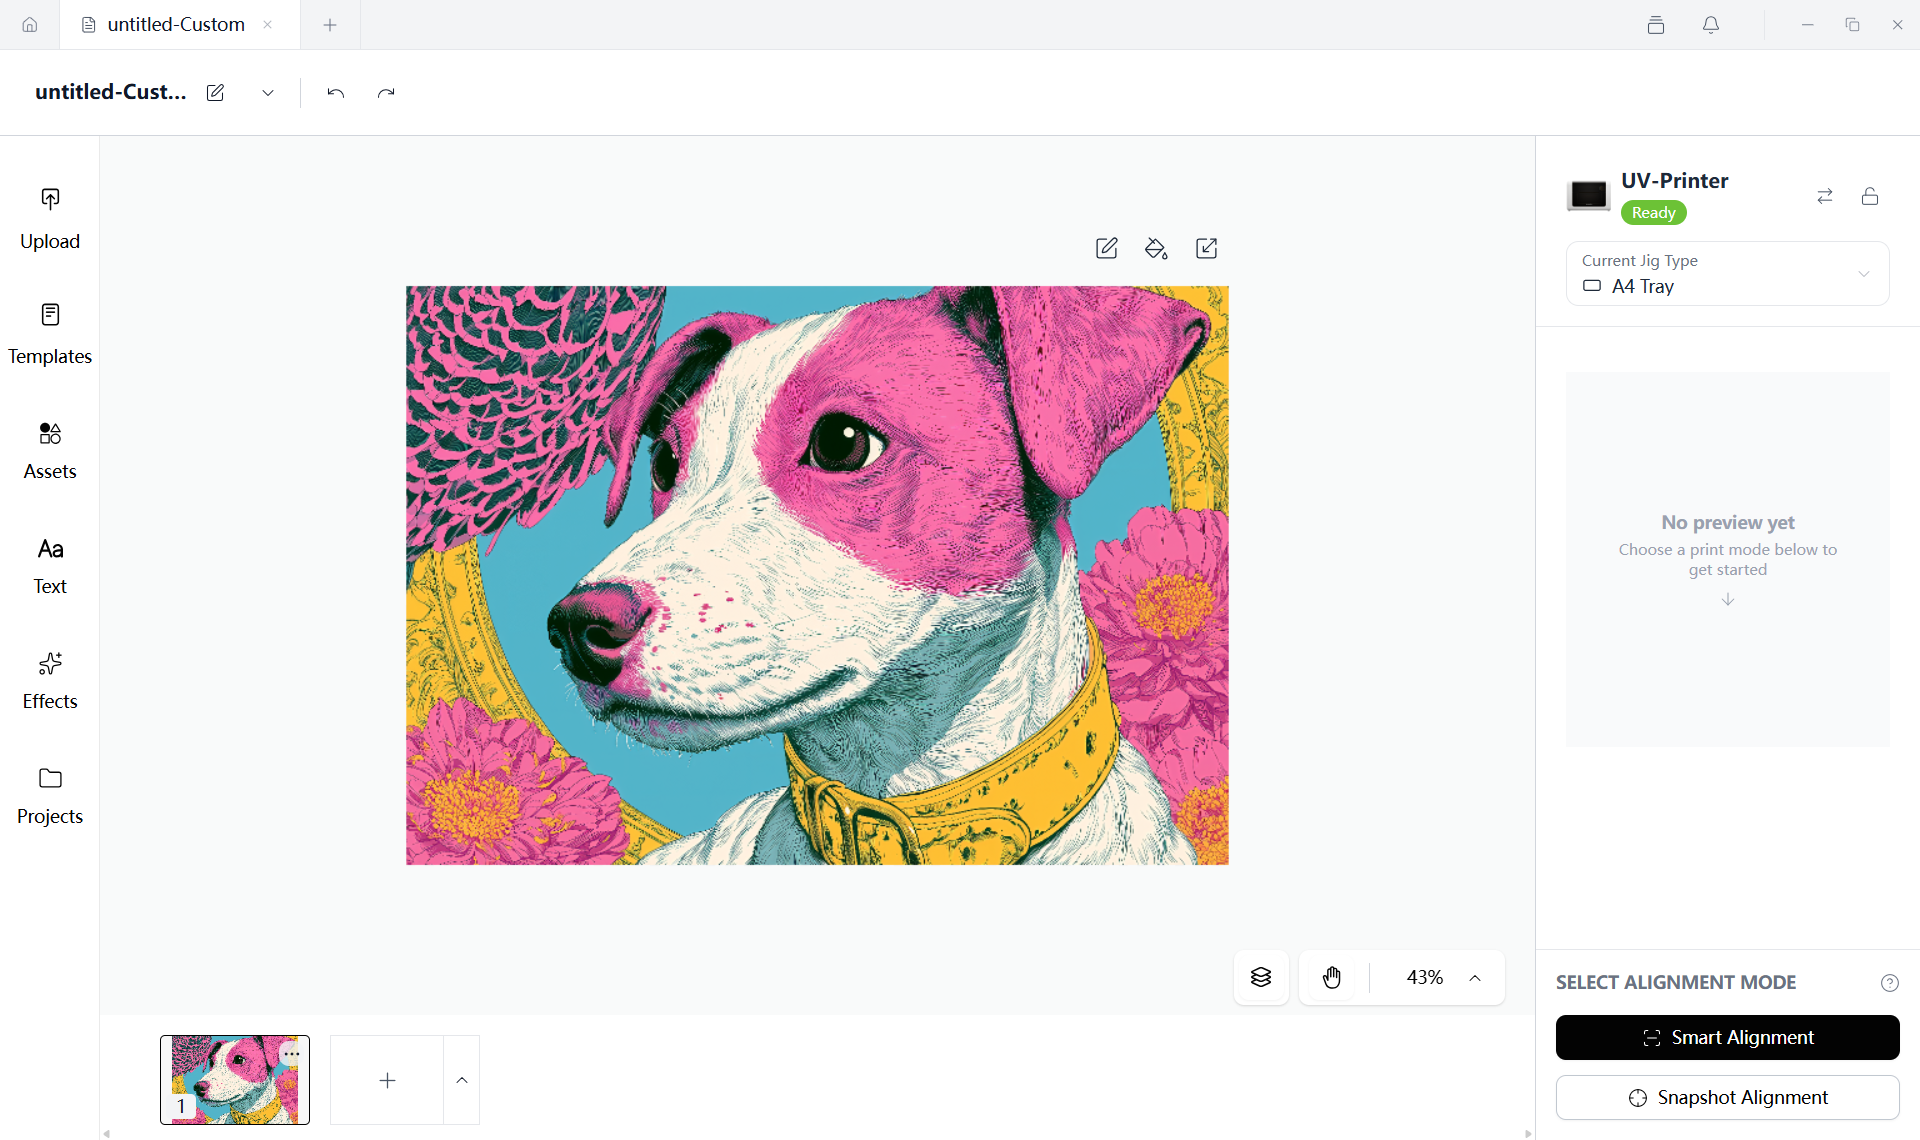
- Add the 2D artwork through Upload File or Local Images.
- Adjust the artwork position, size, and rotation on the canvas.
¶ Step 2: Align the 2D Print
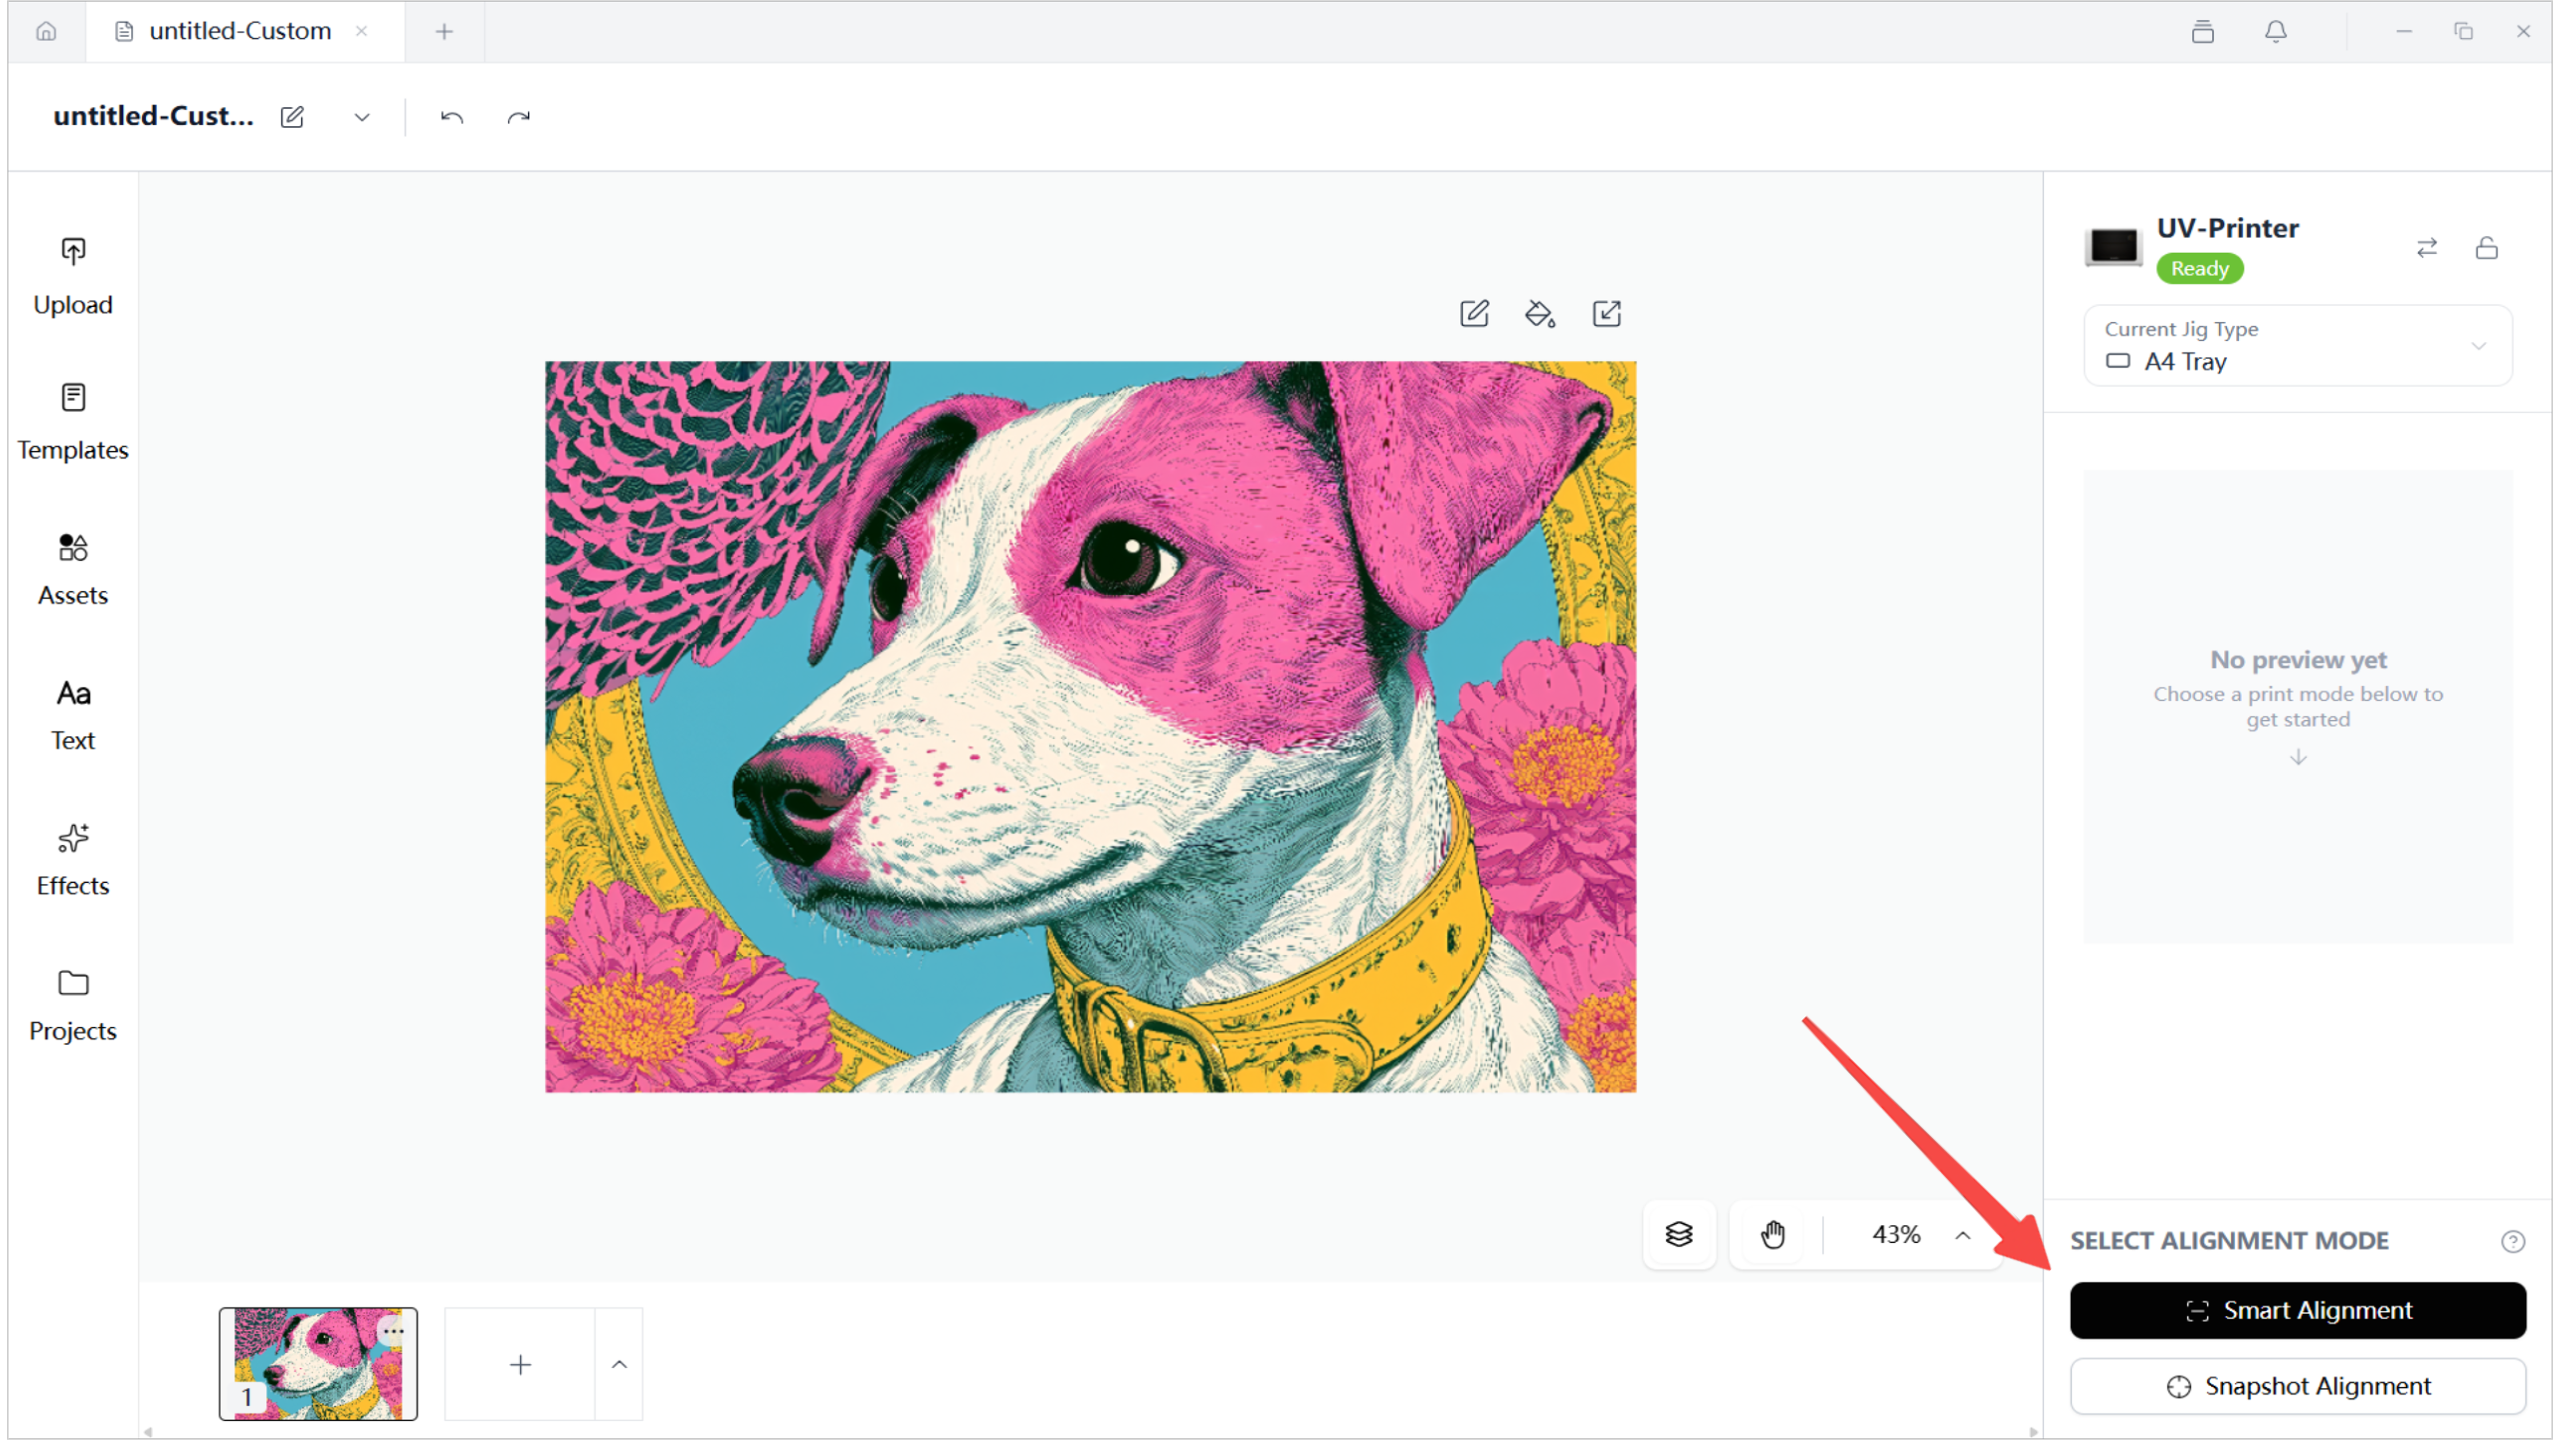
- Select Smart Alignment.
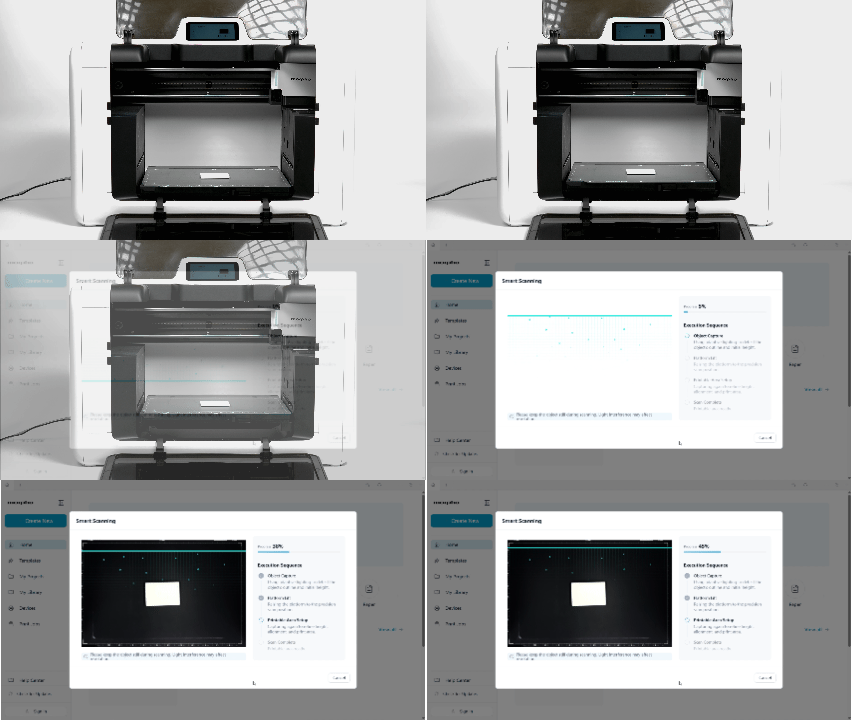
- Keep the object still and wait until Smart Scanning reaches Scan Complete.
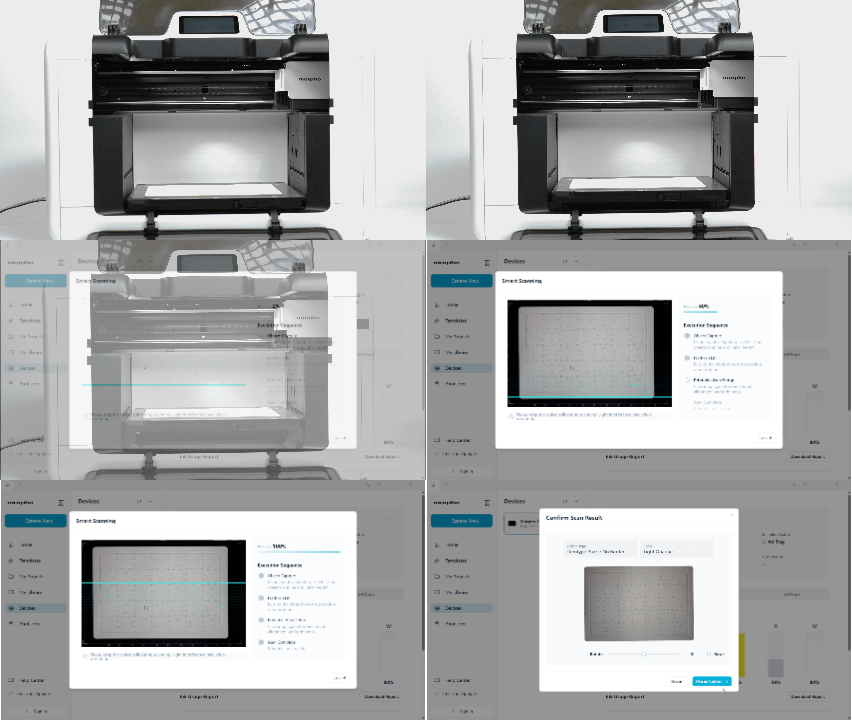
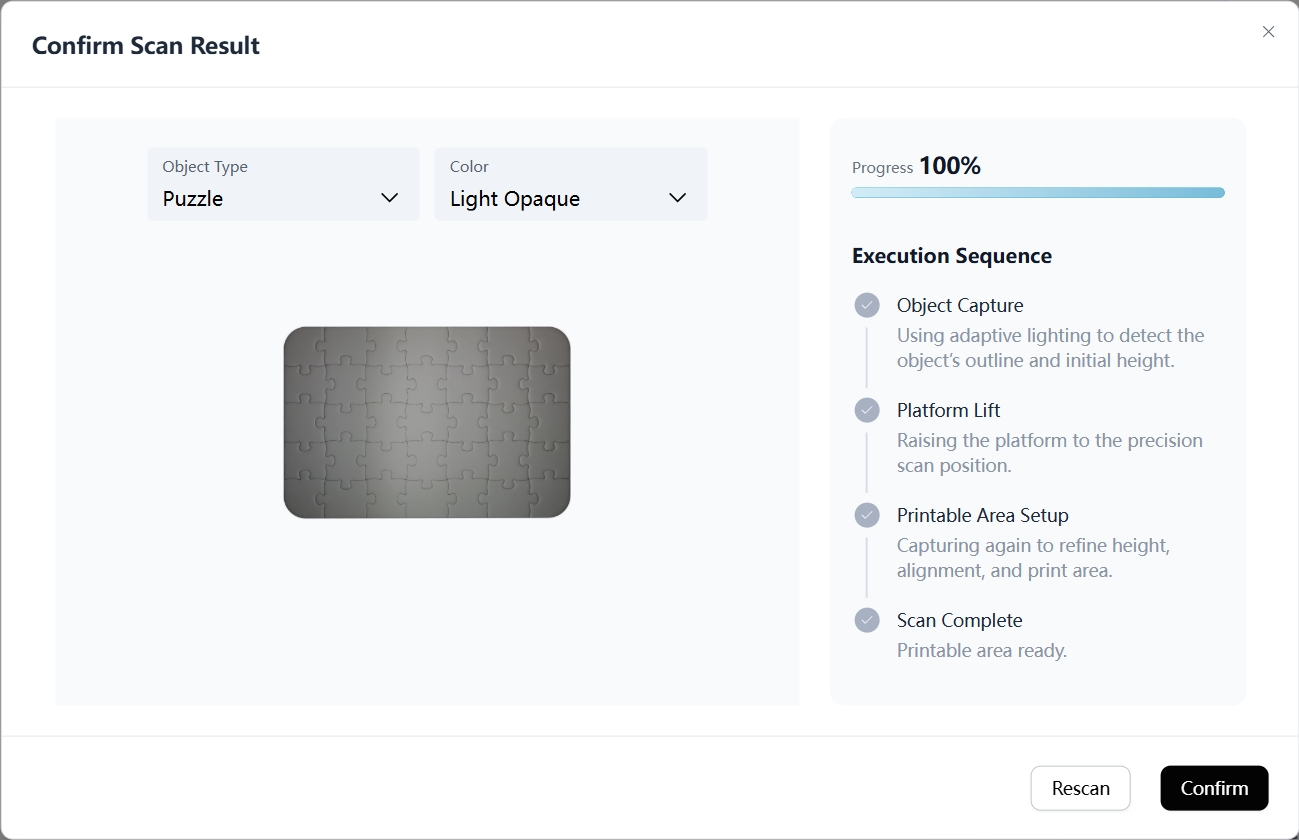
- In Confirm Scan Result, check whether the scanned printable area matches the object.
- Click Use as Canvas if the scan result is correct. Click Rescan if the scan result is not correct.
¶ Step 3: Start and Complete the 2D Print
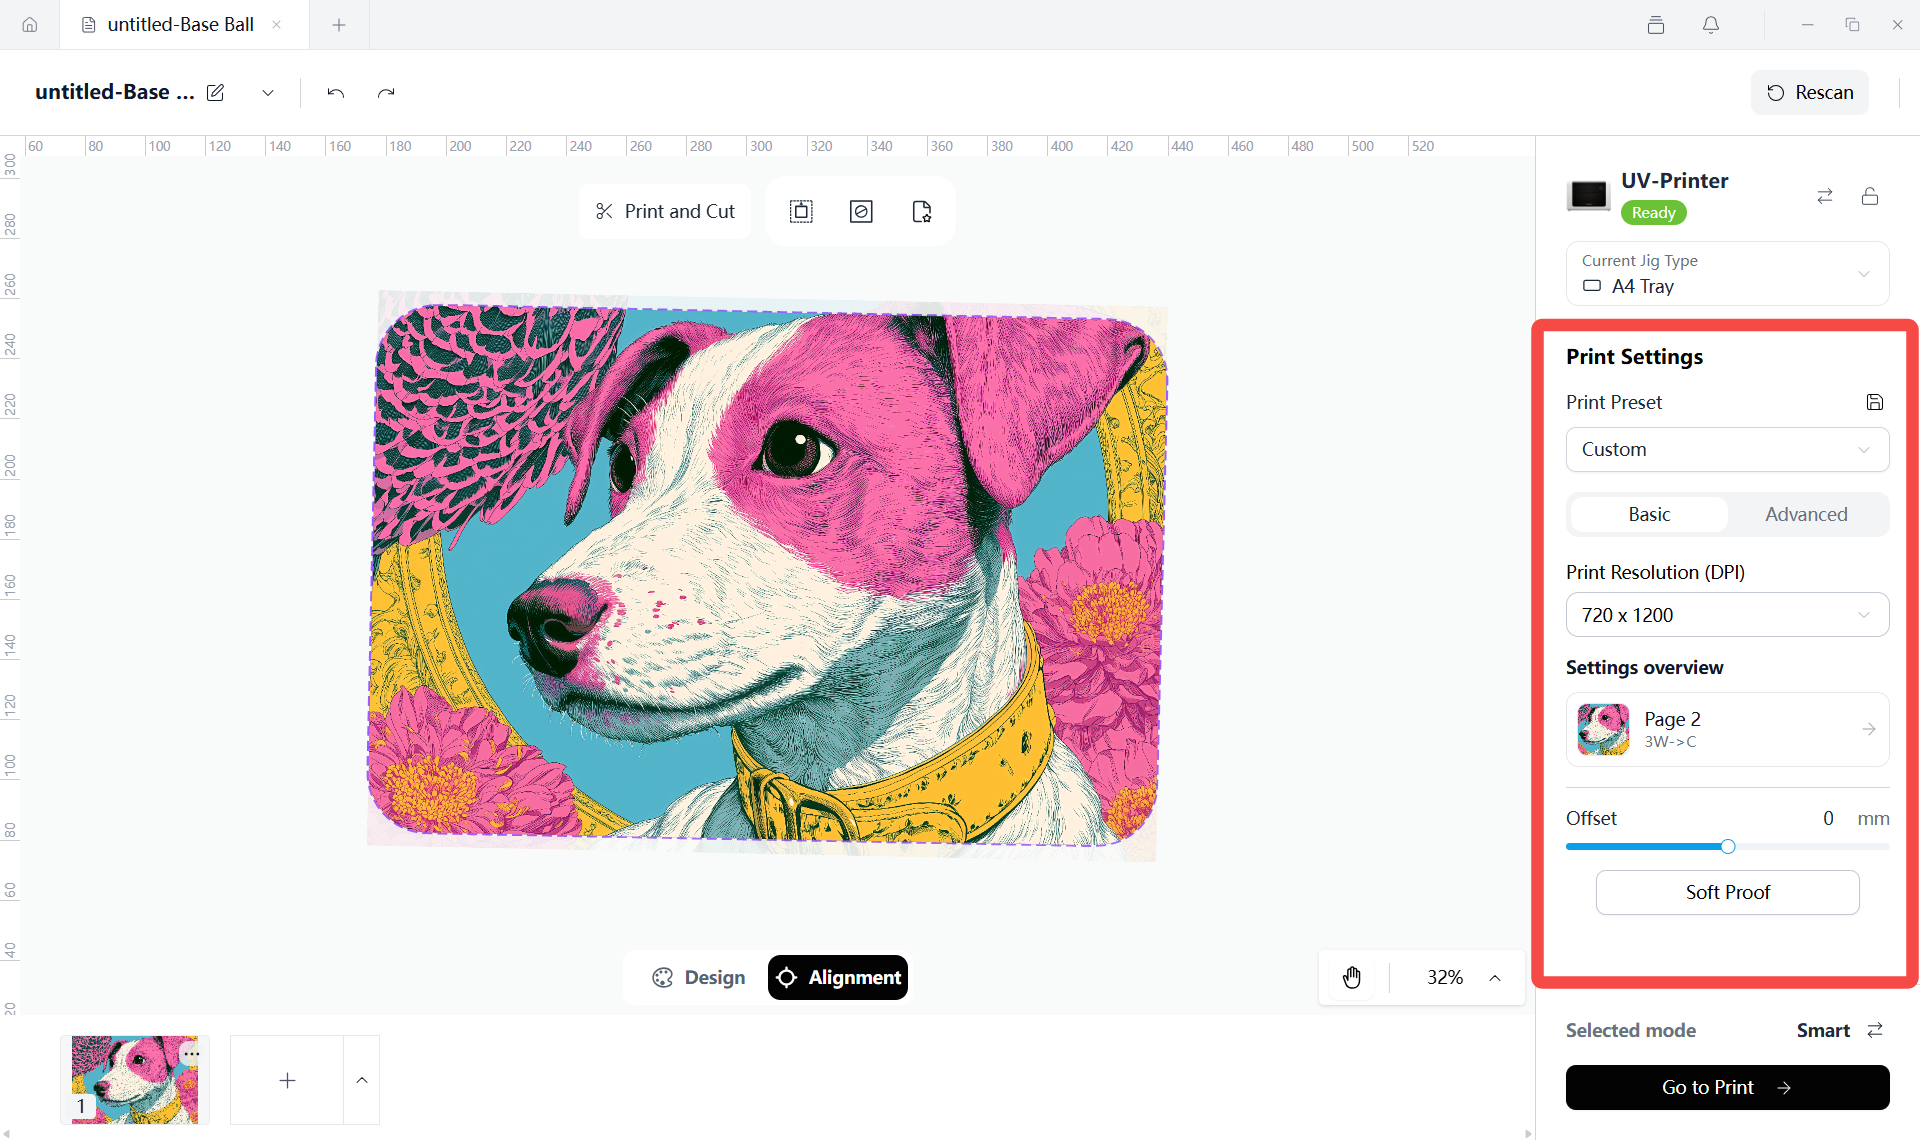
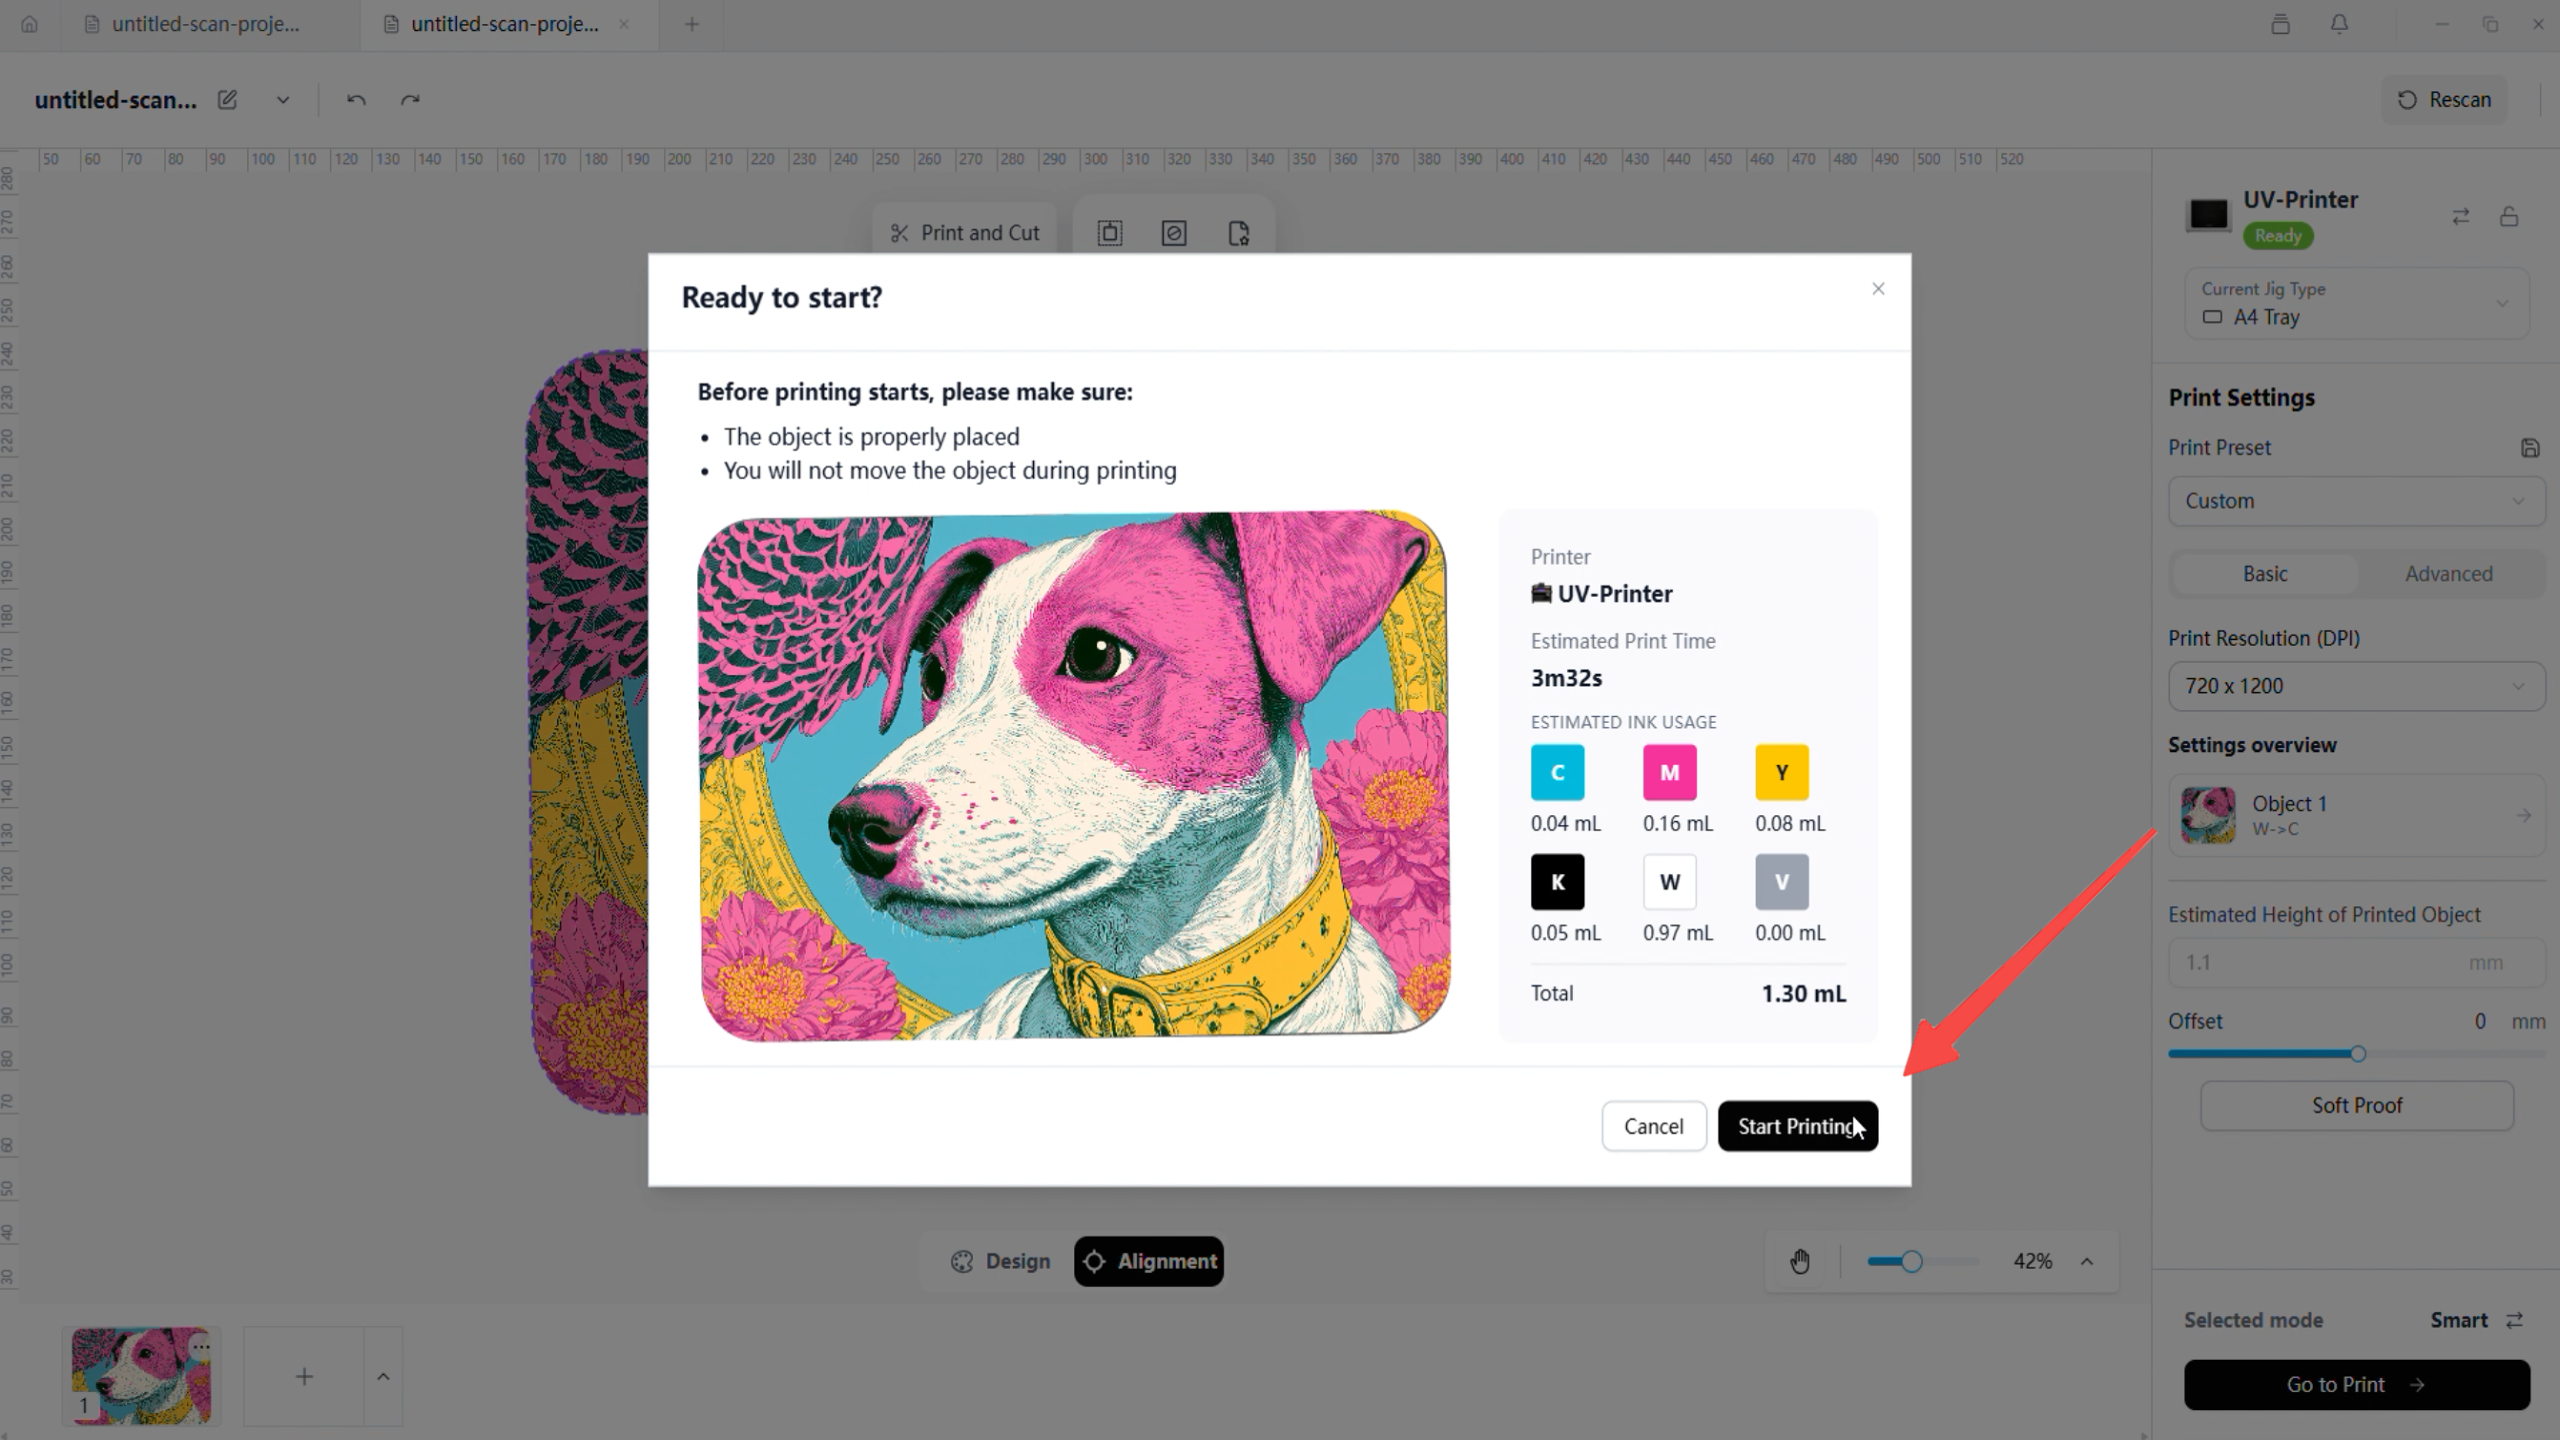
- Review Print Settings, including Print Resolution (DPI) and Ink Mode. In this workflow, Print Resolution (DPI) shows 720 x 1200, and Ink Mode shows CMYK.
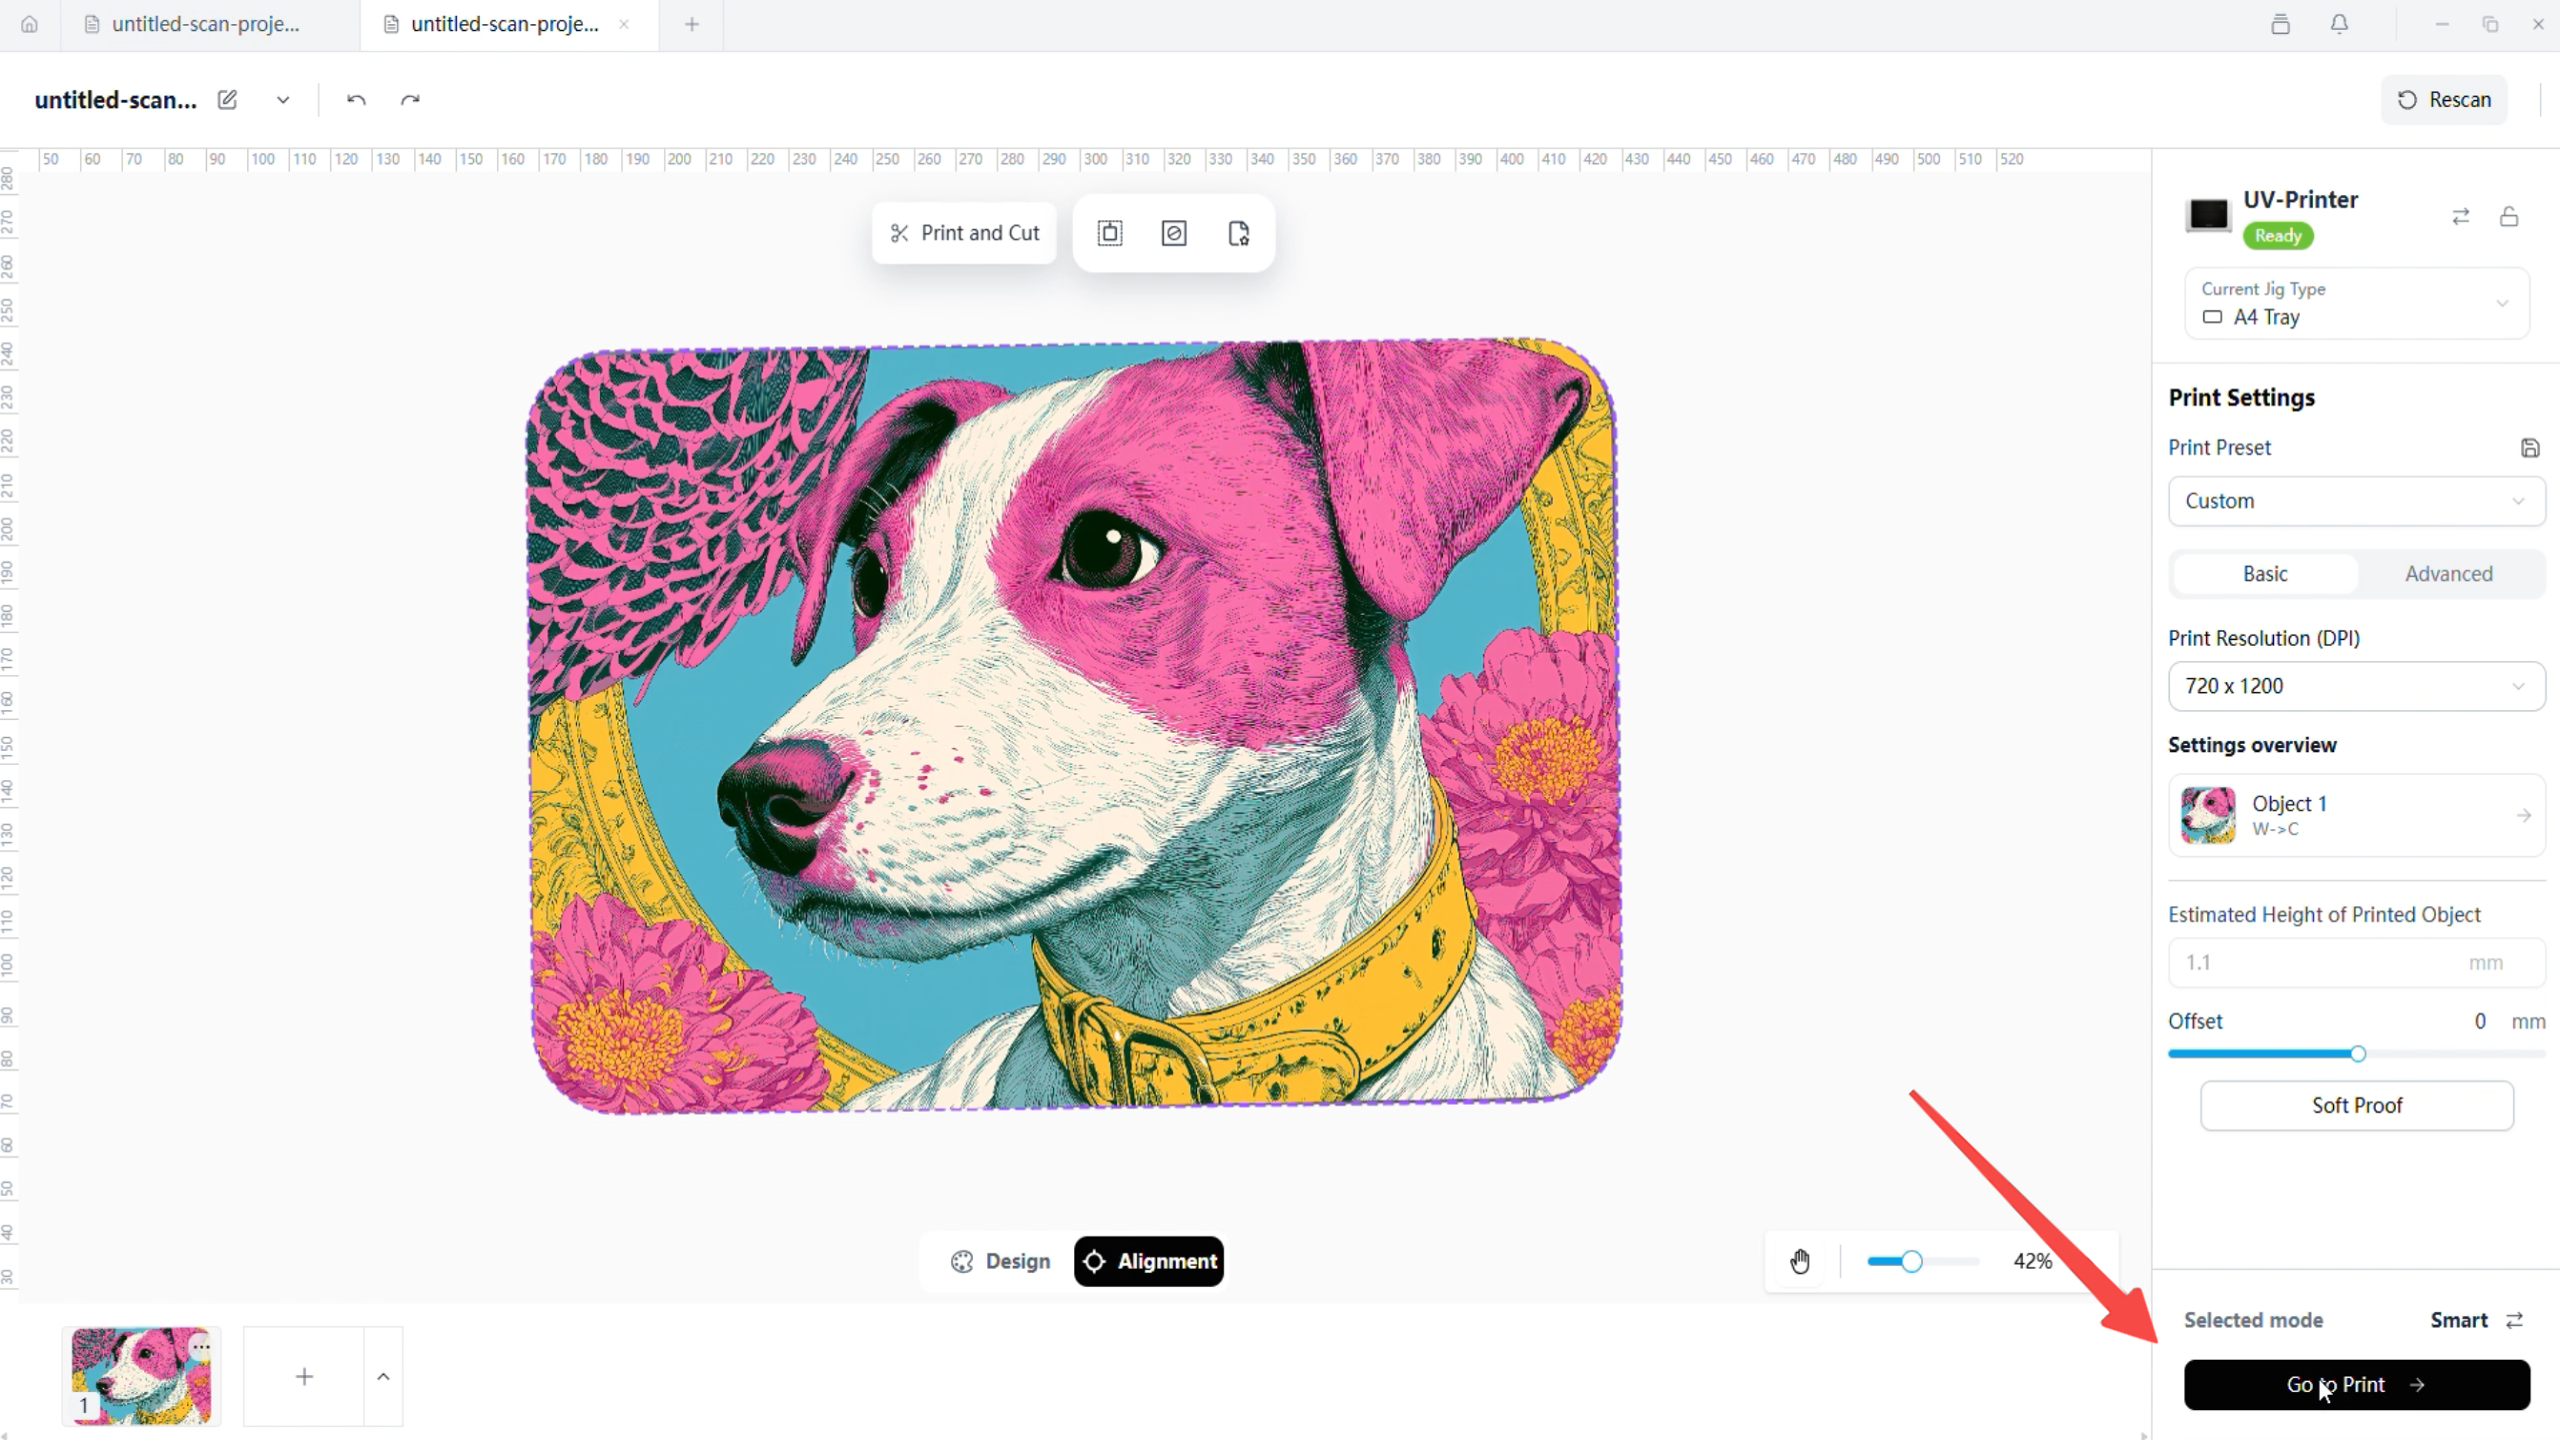
- Click Go to Print.
- In Ready to start?, confirm that the object is properly placed and will not move during printing.
- Click Start Printing.
- Keep both front doors closed during printing.
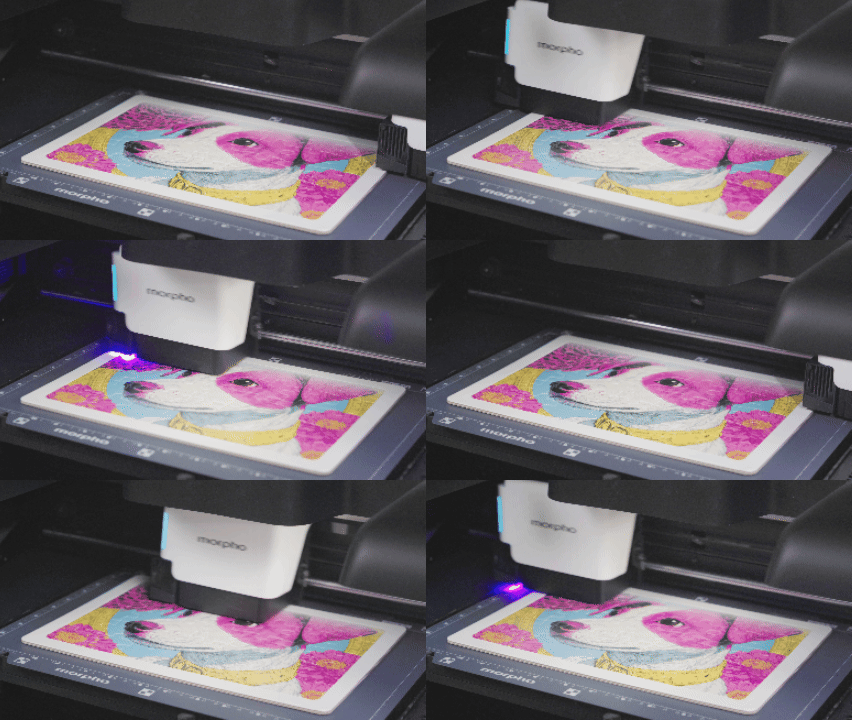
- Open Print Jobs and wait until Print Status reaches Print Complete.
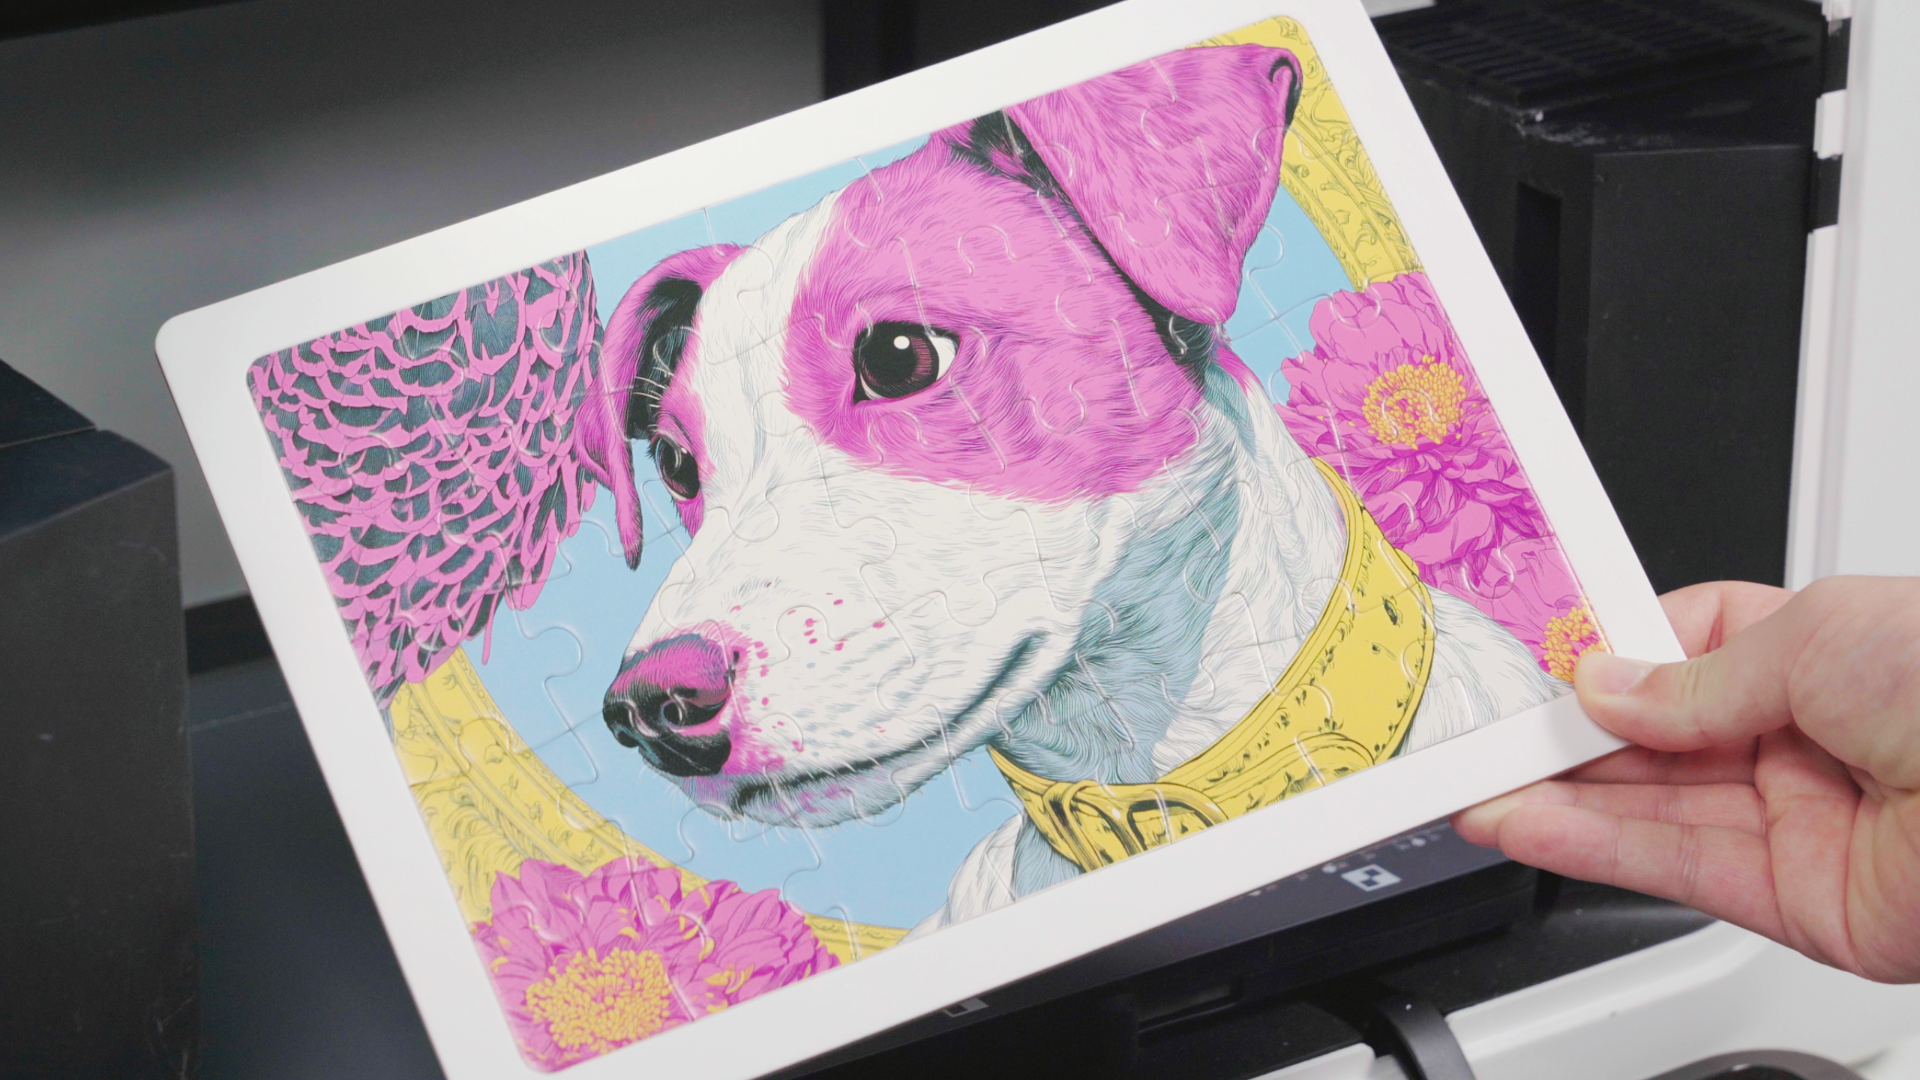
- Remove the printed object after printing is complete.
- Confirm that the 2D artwork is visible on the printed surface.
¶ Make Your First Relief Print
¶ Step 1: Open Morpho Studio and Create the Relief Print Canvas
- Open Morpho Studio.
- Click Create New.
- Select Empty Canvas.
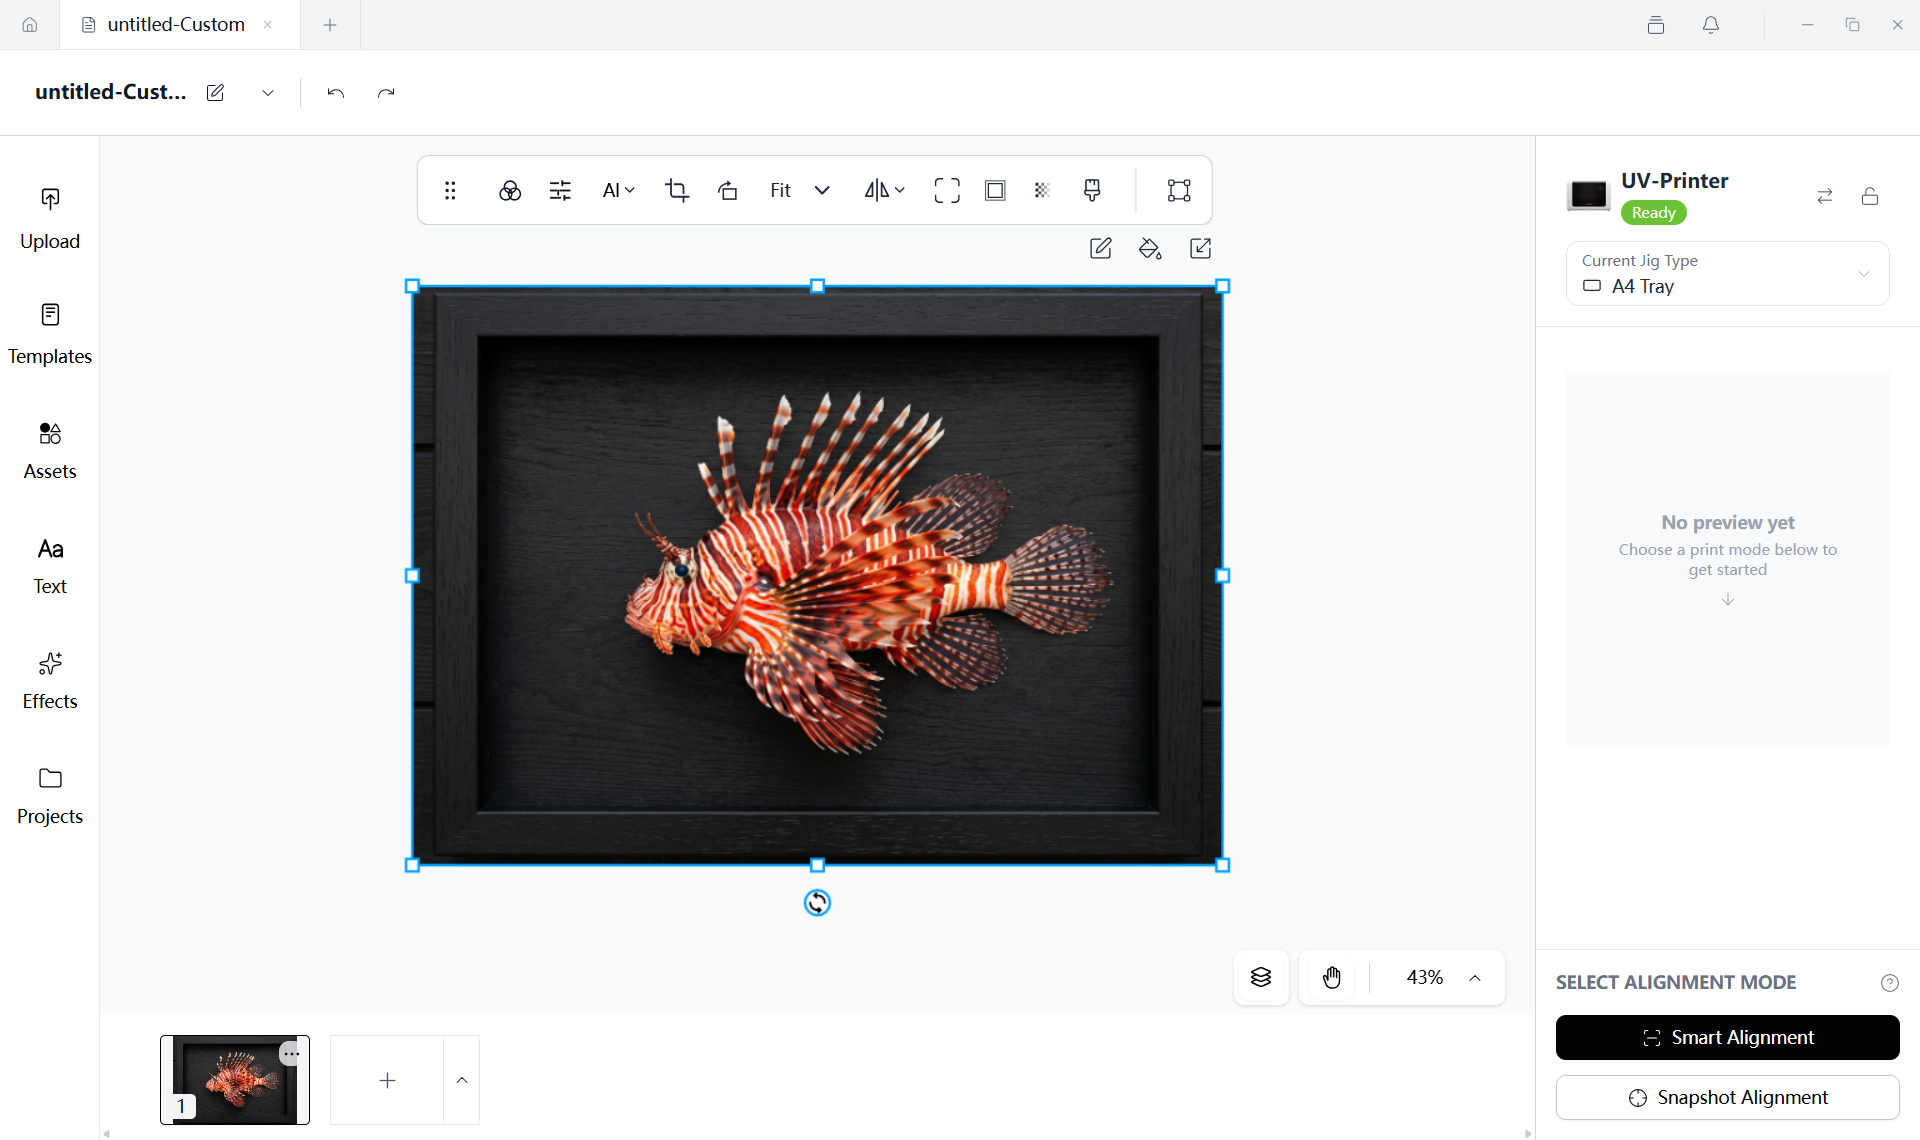
- Add the relief artwork and adjust the artwork position, size, and rotation.
- If the Resize page window appears, click Continue.
¶ Step 2: Apply Relief Texture
- Click Effects.
- Click Relief Texture.
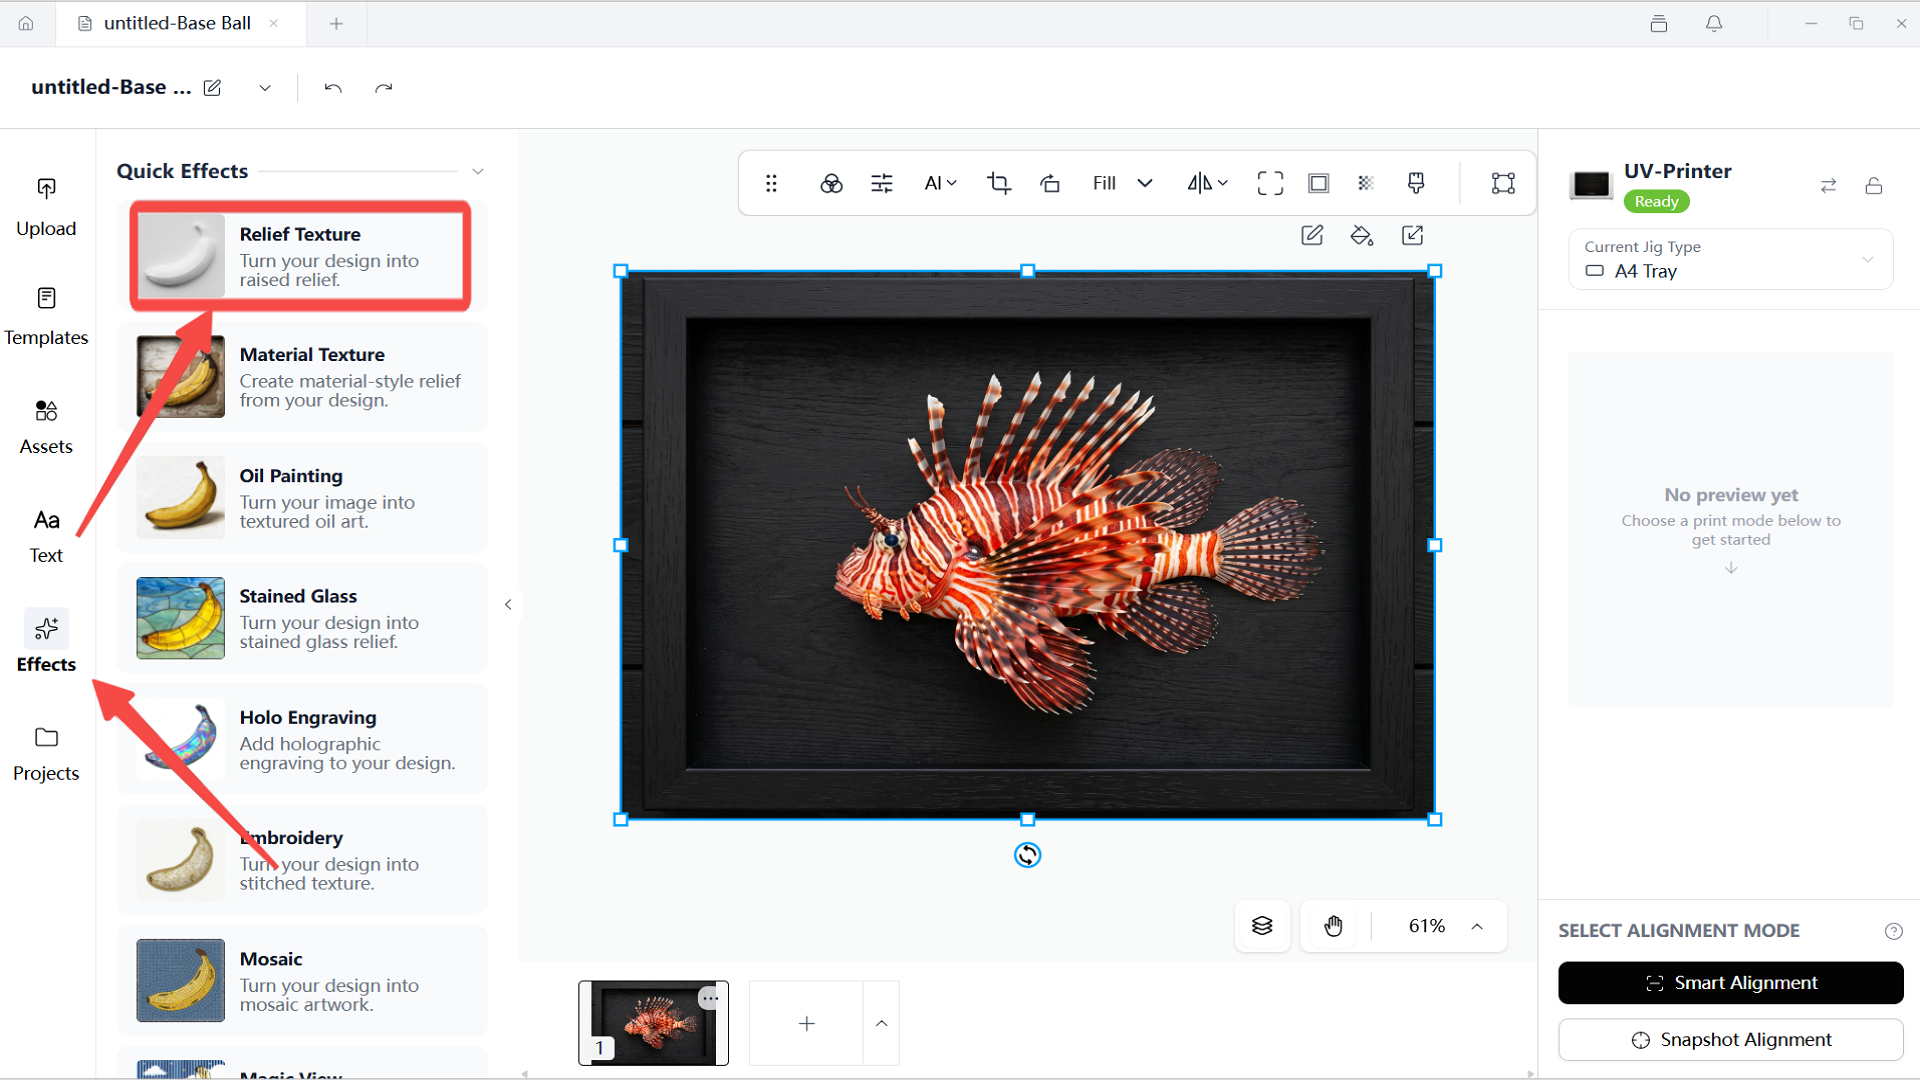
- Select the required Relief Mode. The Relief Texture window shown in this workflow includes Simple and Detailed.
- Adjust Relief Height. The Relief Texture window shown in this workflow includes a range from 0.00 mm to 3.00 mm.
- Select the required Relief Material. The Relief Texture window shown in this workflow includes Mix White and Varnish.
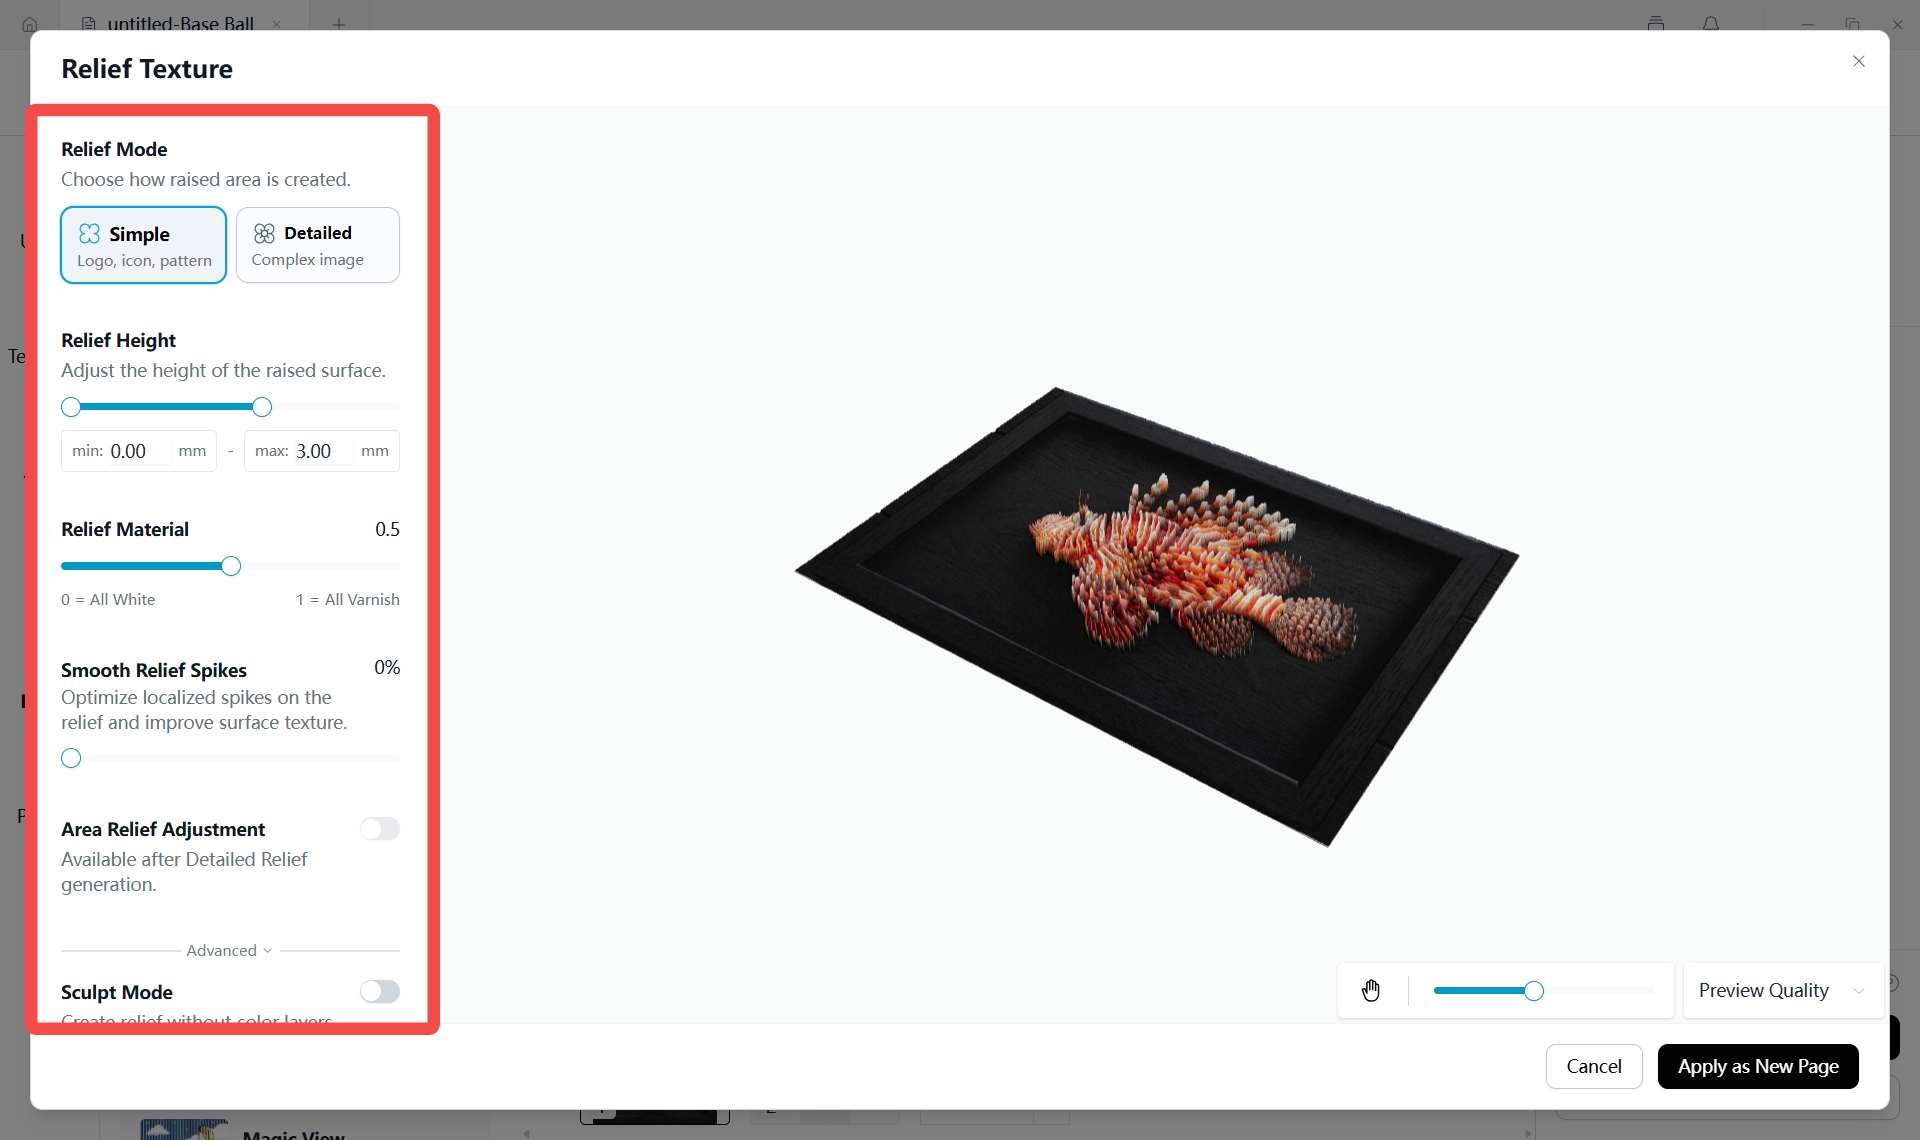
- Click Apply as New Page.
- Wait until Morpho Studio shows Relief preview page created successfully.
¶ Step 3: Start and Complete the Relief Print
- Select the relief preview page.
- Run Smart Alignment, keep the object still, and wait until Smart Scanning reaches Scan Complete.
- Click Go to Print.
- In Ready to start?, confirm that the object is properly placed and will not move during printing.
- Click Start Printing.
- Keep both front doors closed during printing.
- Open Print Jobs and wait until Print Status reaches Print Complete.
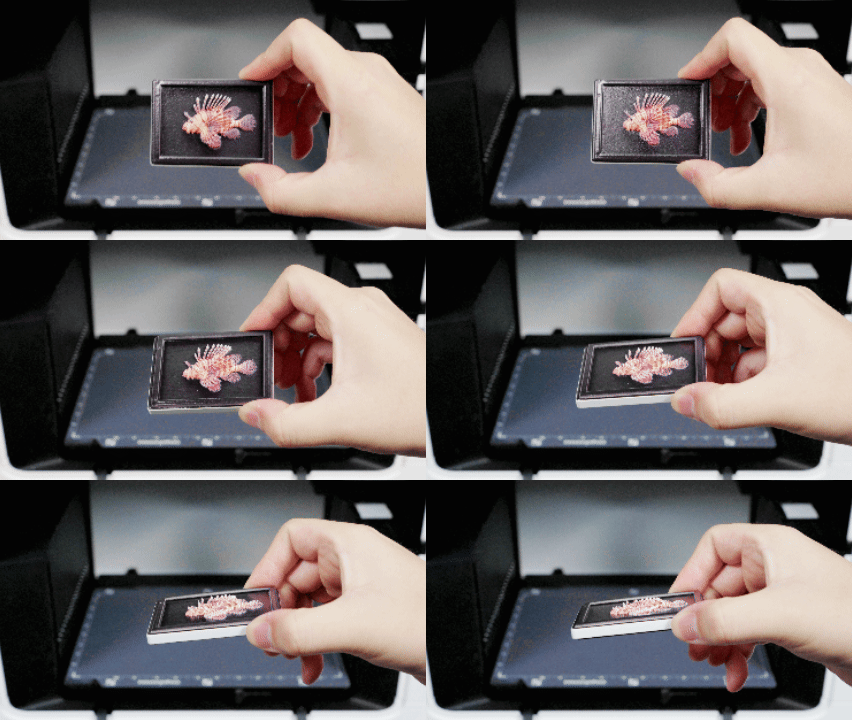
- Remove the printed object after printing is complete.
- Confirm that the raised relief texture is visible on the printed surface.
¶ Print Status Reference
During printing, Morpho Studio shows the print job in Print Jobs. The print status flow includes Initializing Printer, Preparing Print Data, Printing, Finalizing Print, and Print Complete.
Use Print Complete as the completion state before removing the printed object.
¶ Need More Help?
We hope this guide has been helpful. If you have any questions or need further assistance, our support team is here to help.